Transform Your Home with Custom Wall Art from Your Orange County Photography Session
Your home should be a reflection of your unique story, and there’s no better way to showcase it than with custom wall art from your recent photography session. At Blue Sky’s Studio in Orange County, we make it easy to turn your cherished moments into stunning wall art that perfectly fits your space. Here’s how our personalized process works, ensuring you get the ideal design for your home.
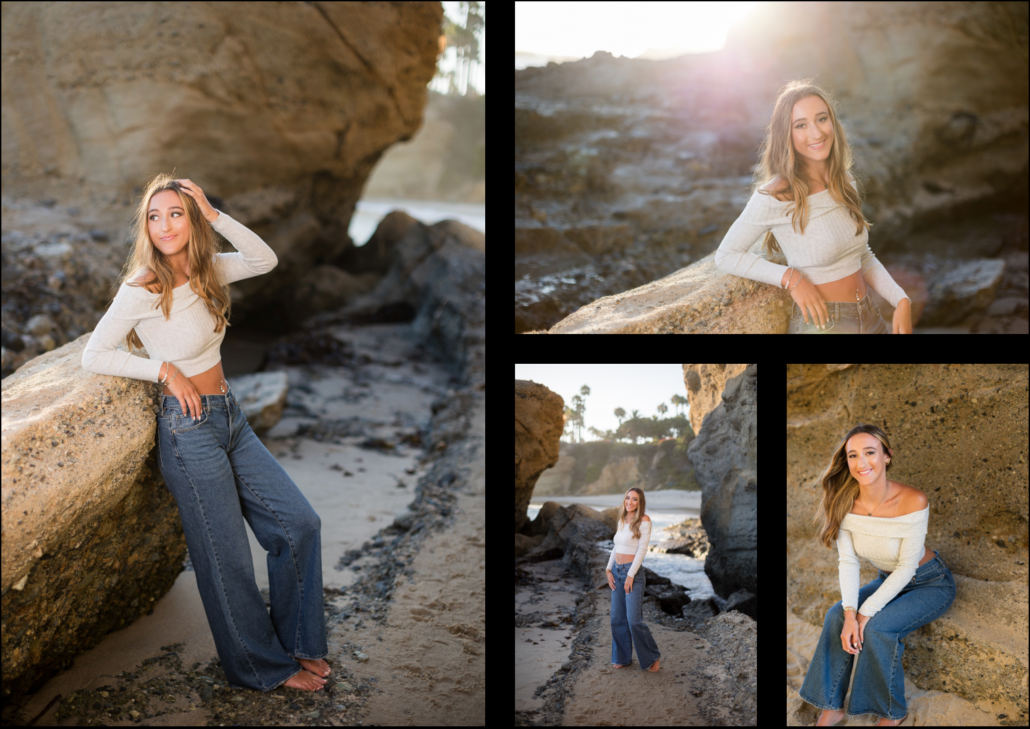
Step 1: Select Your Perfect Photos
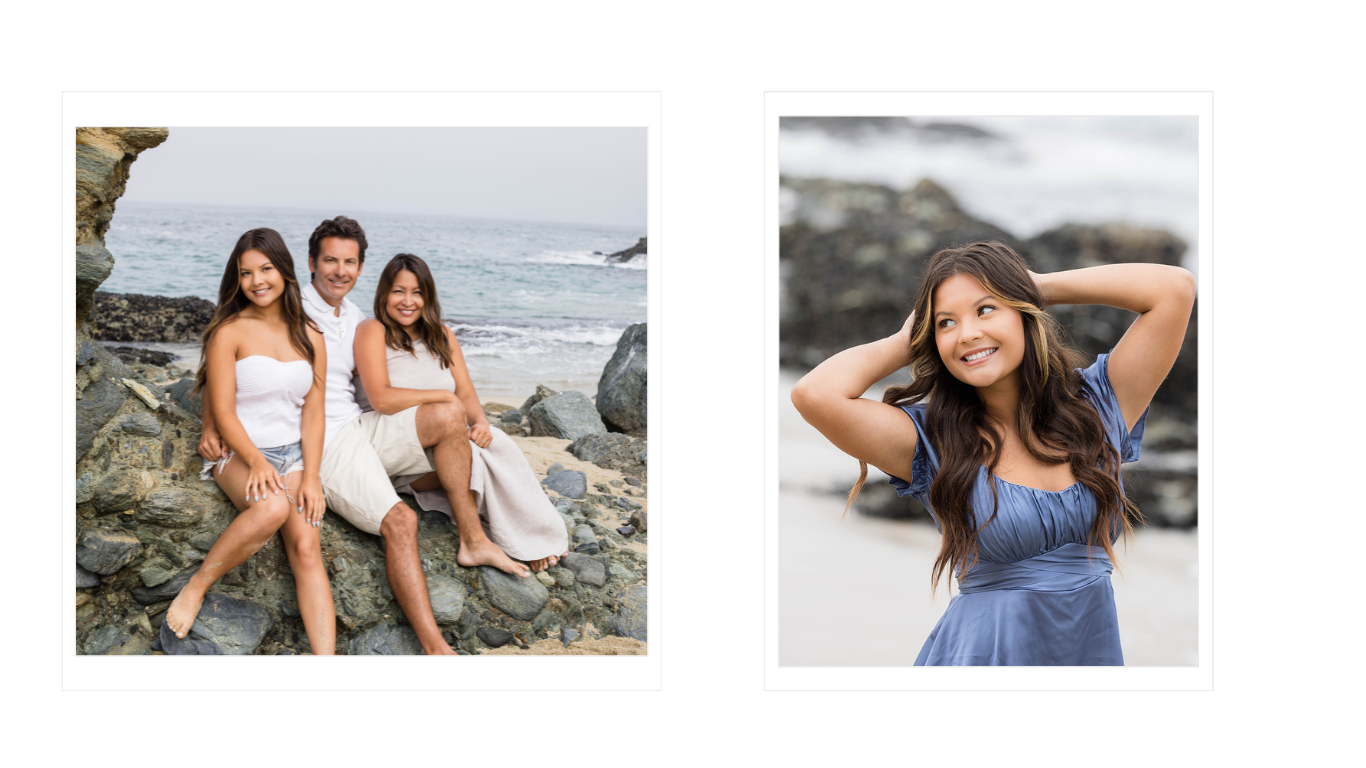
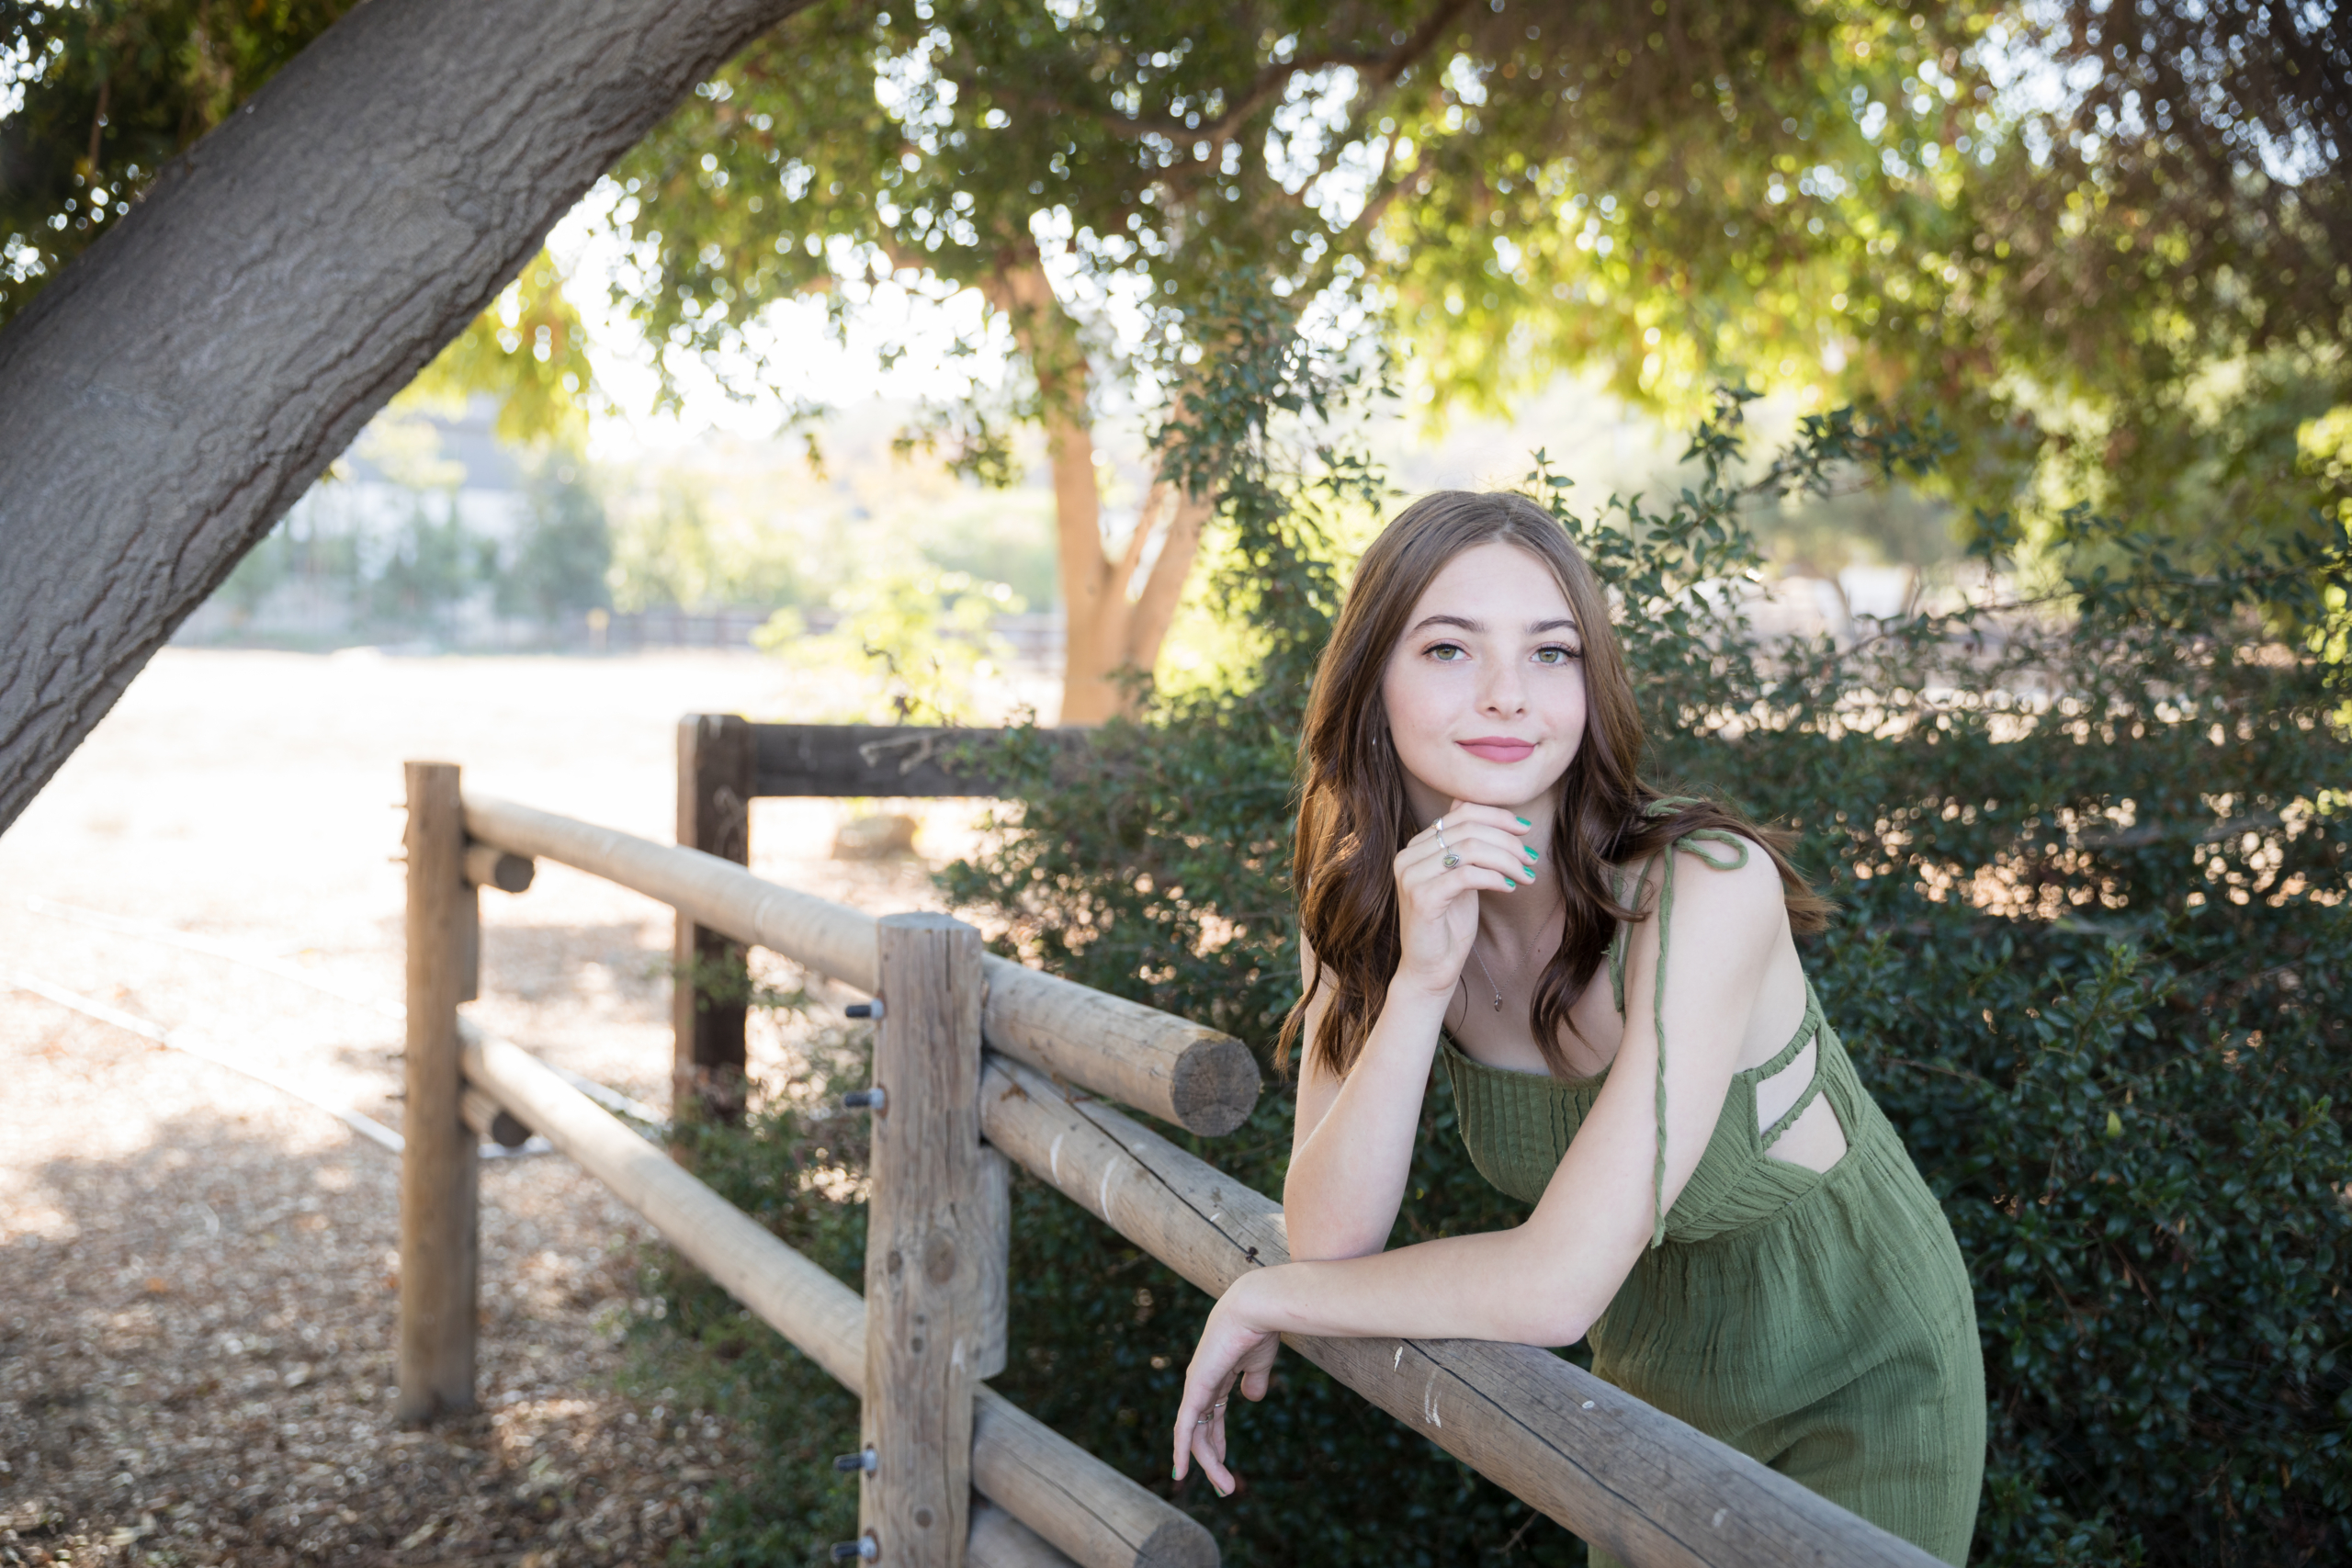
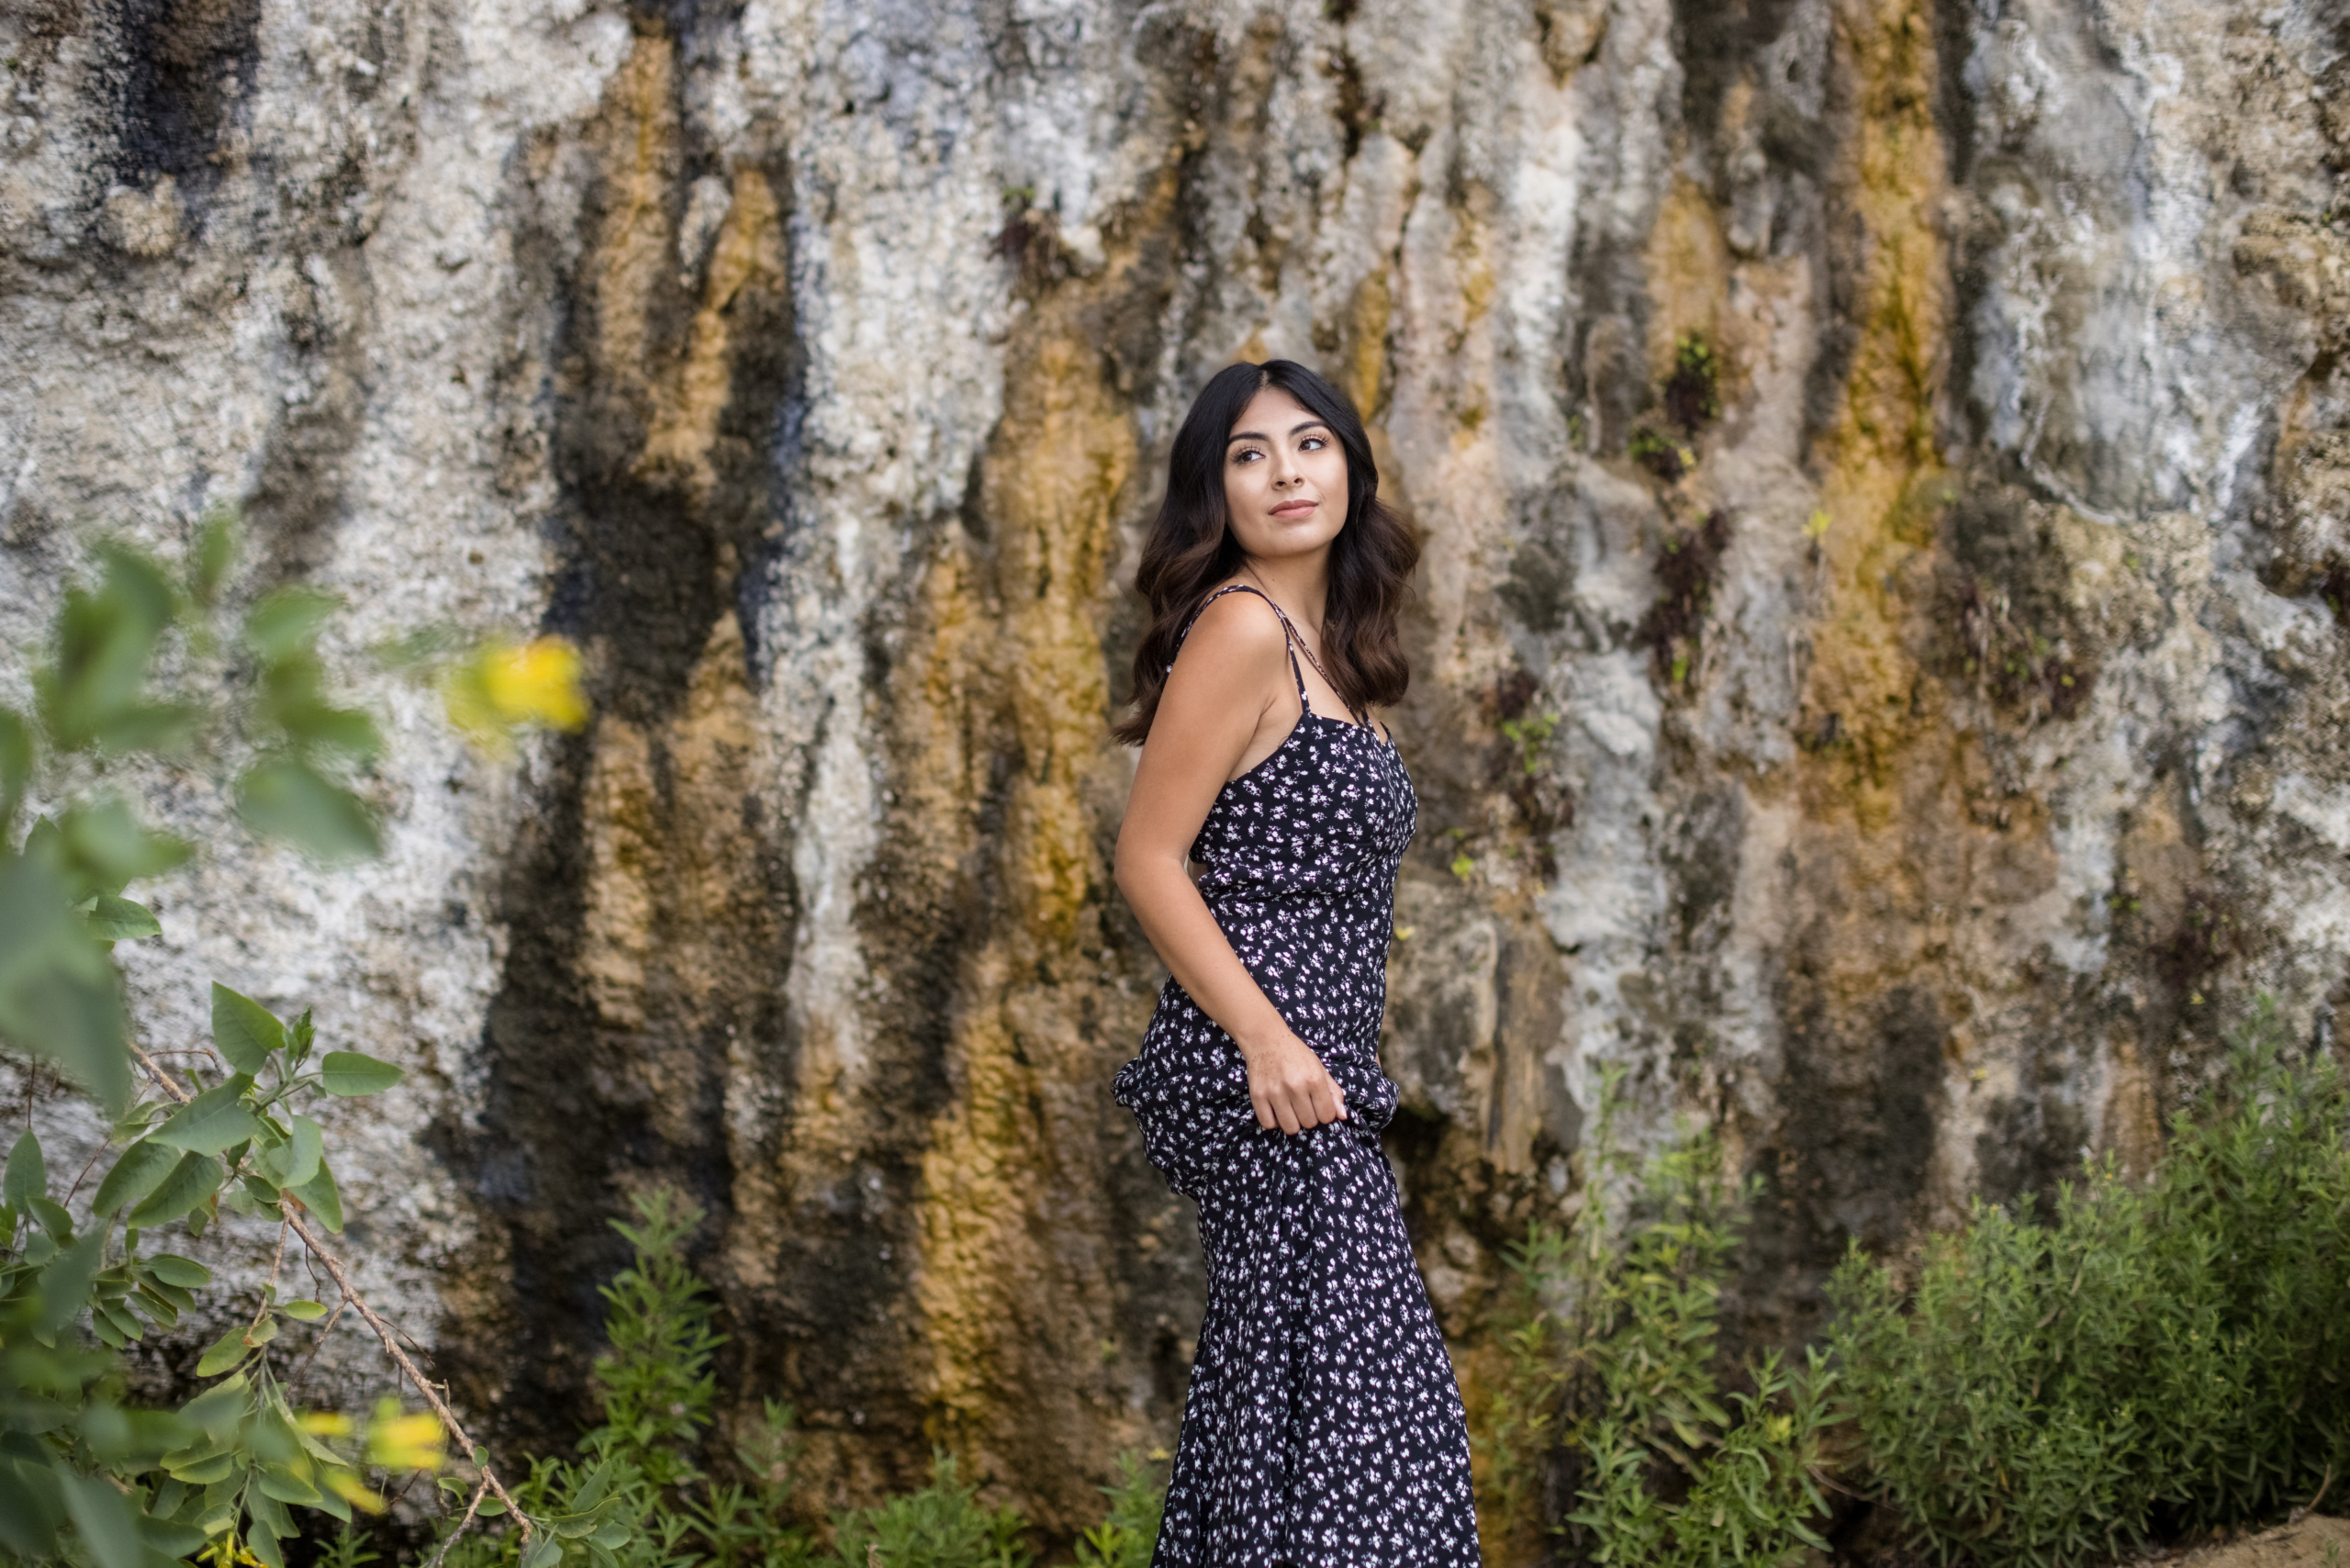
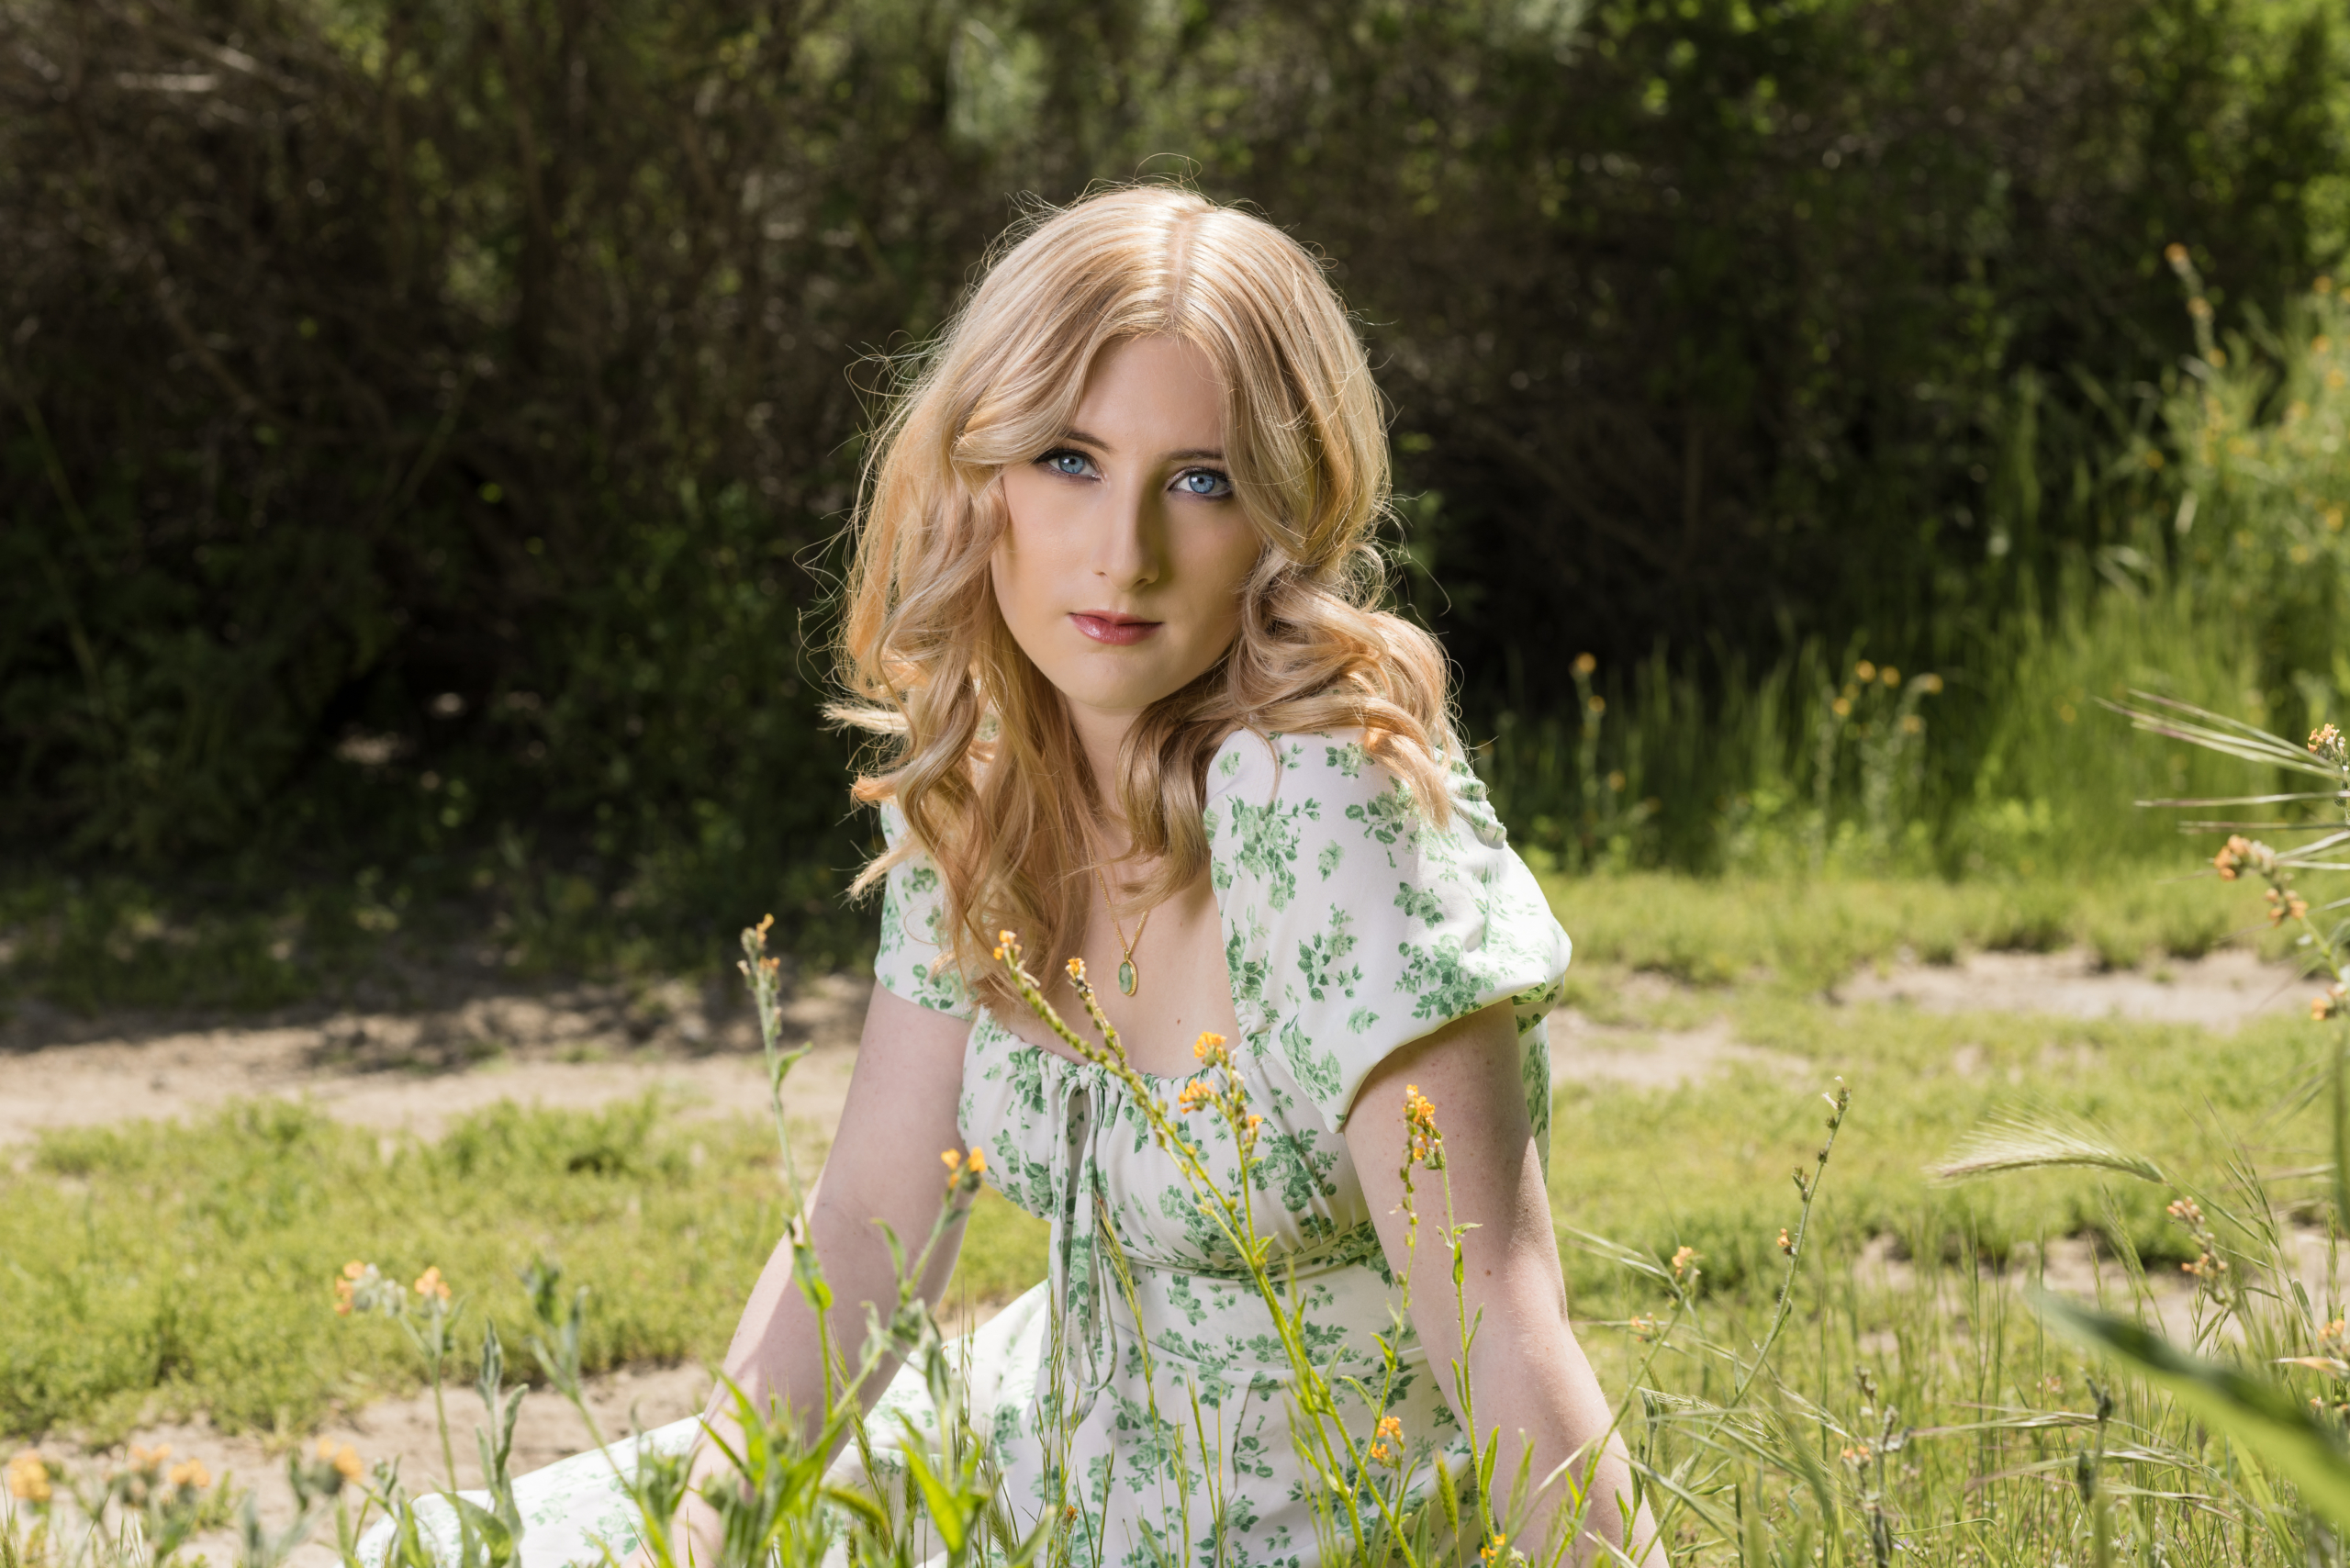
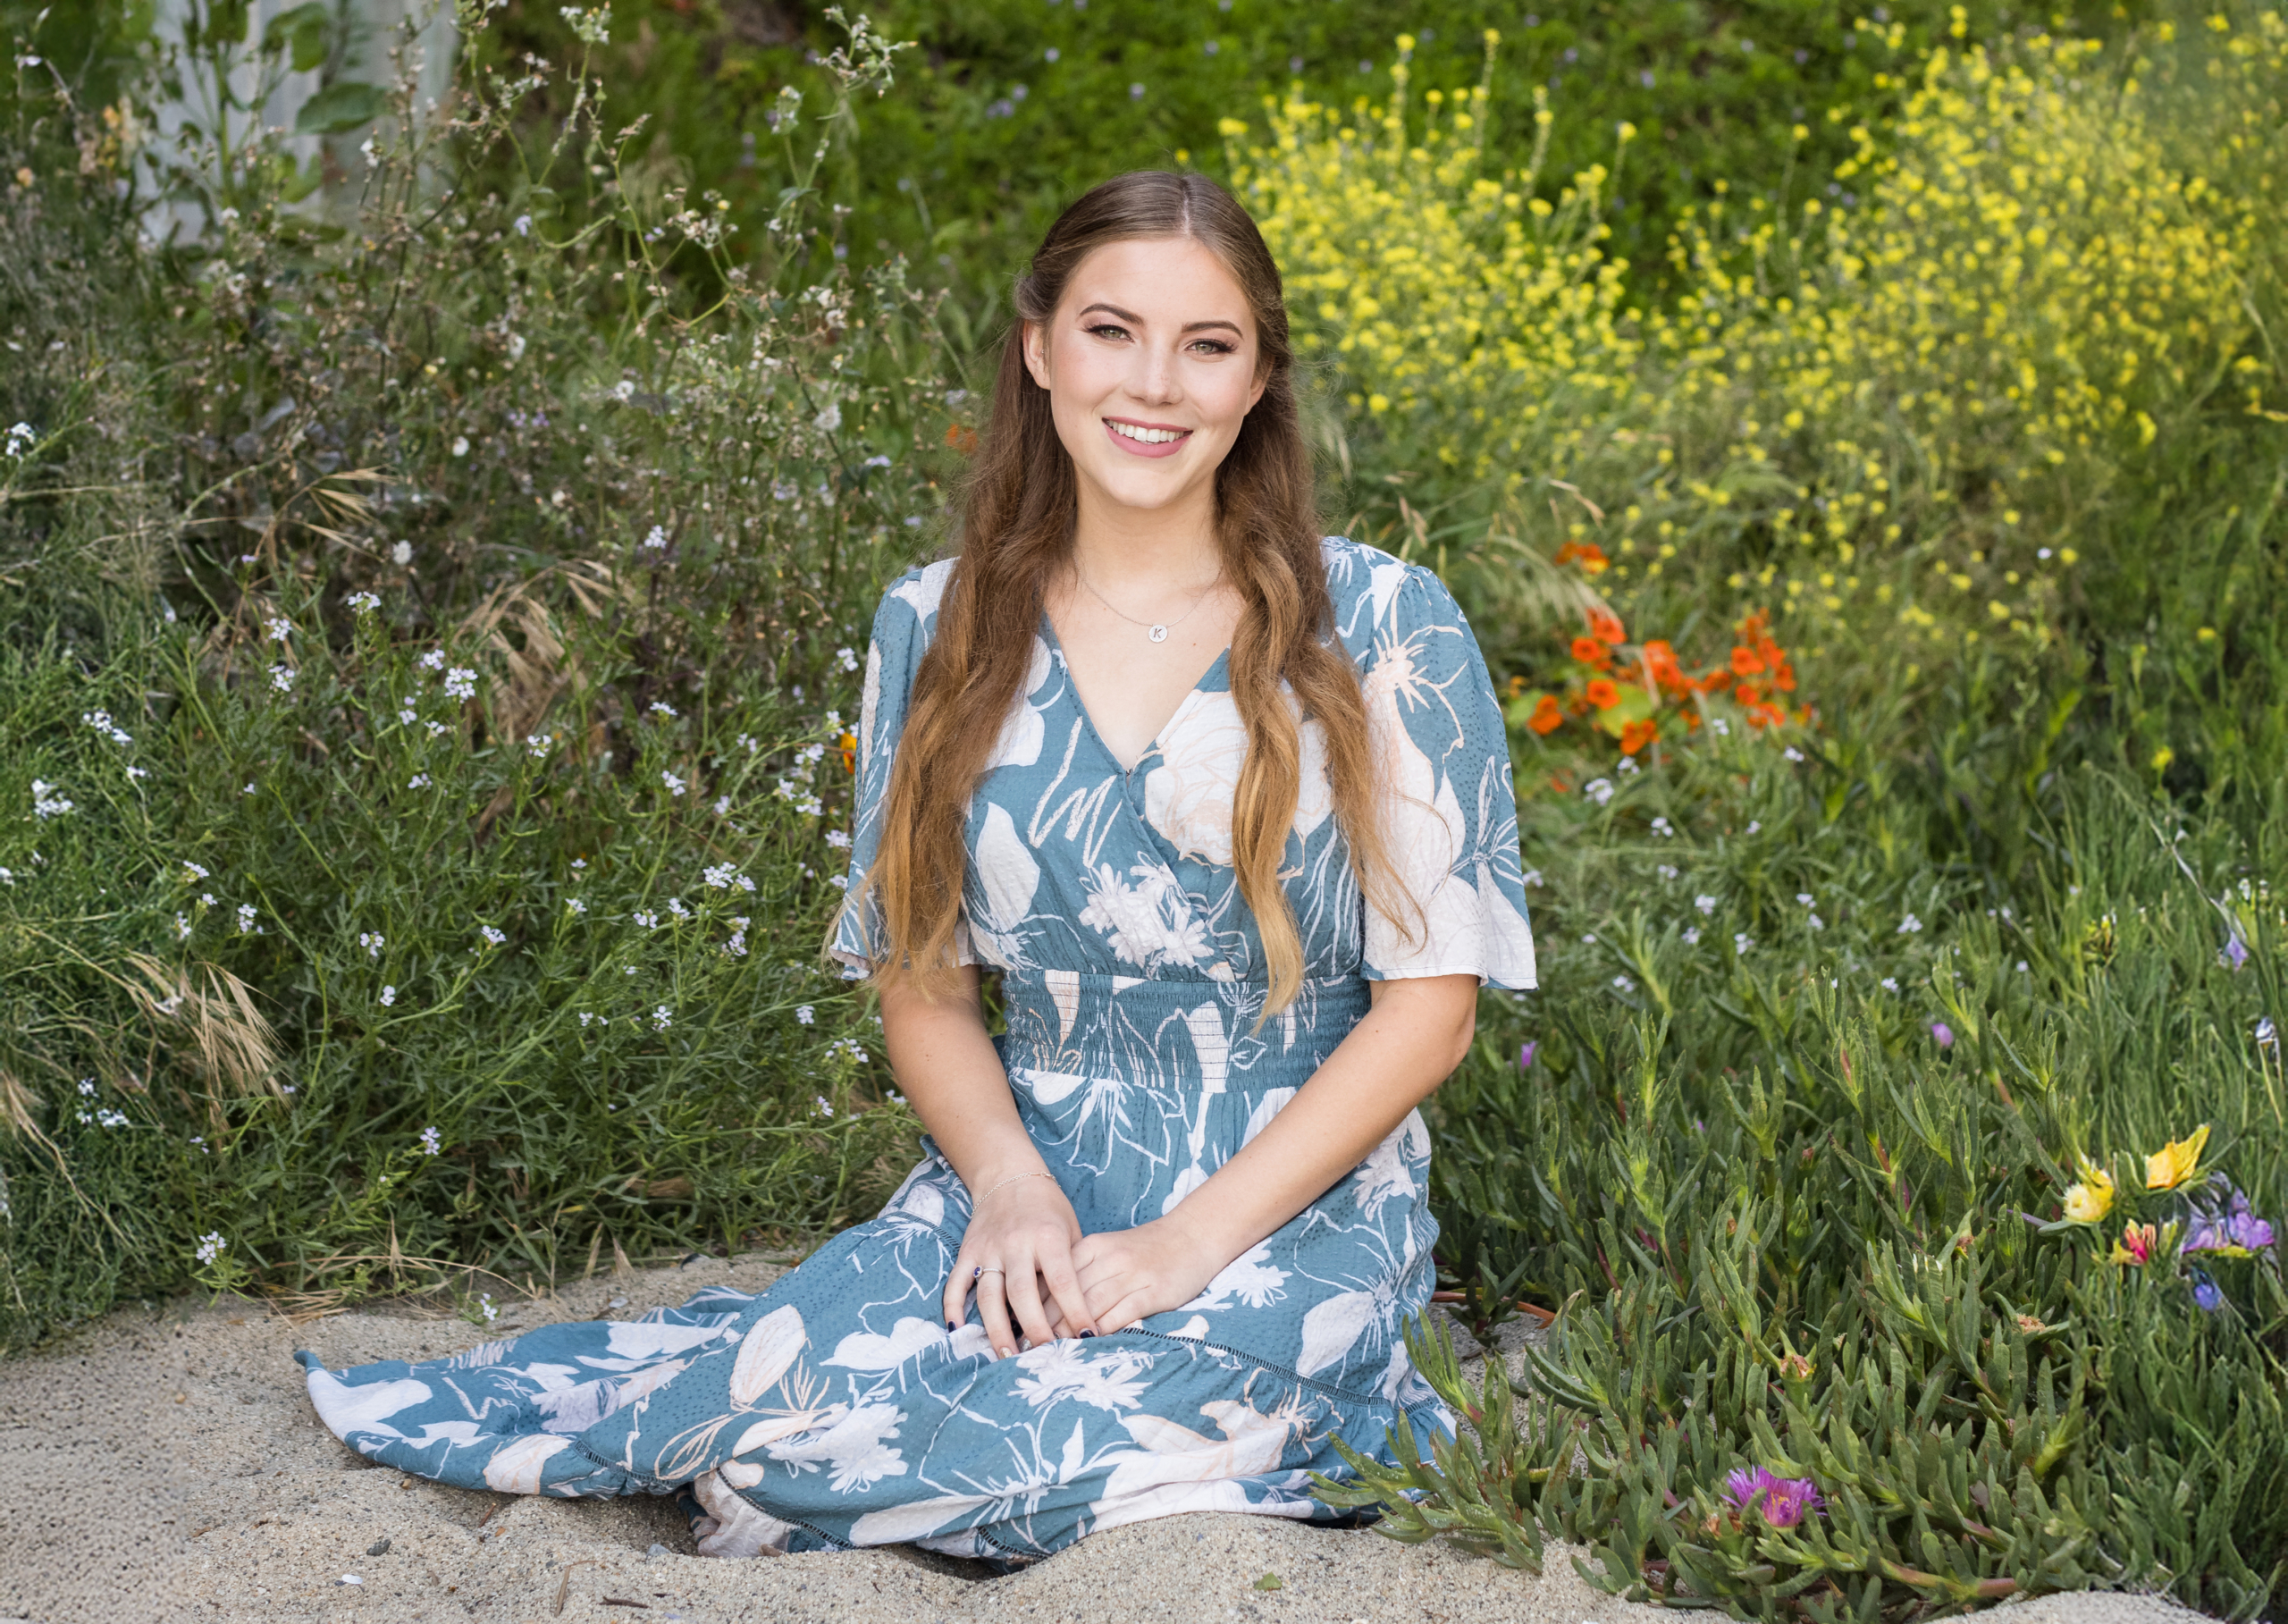
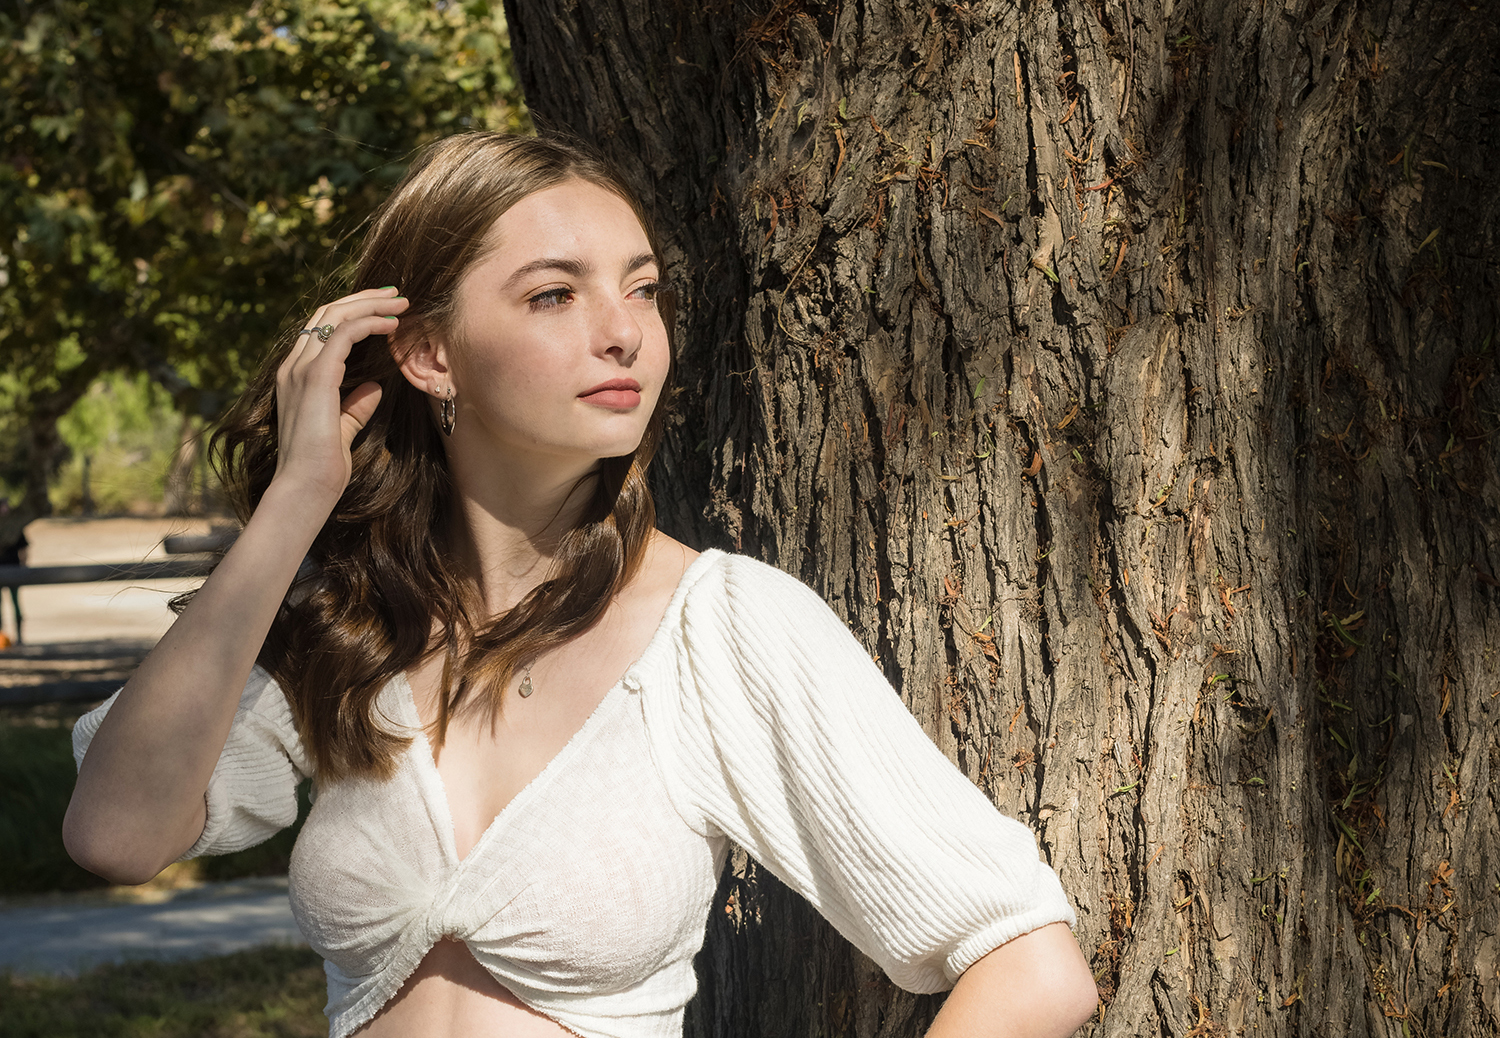
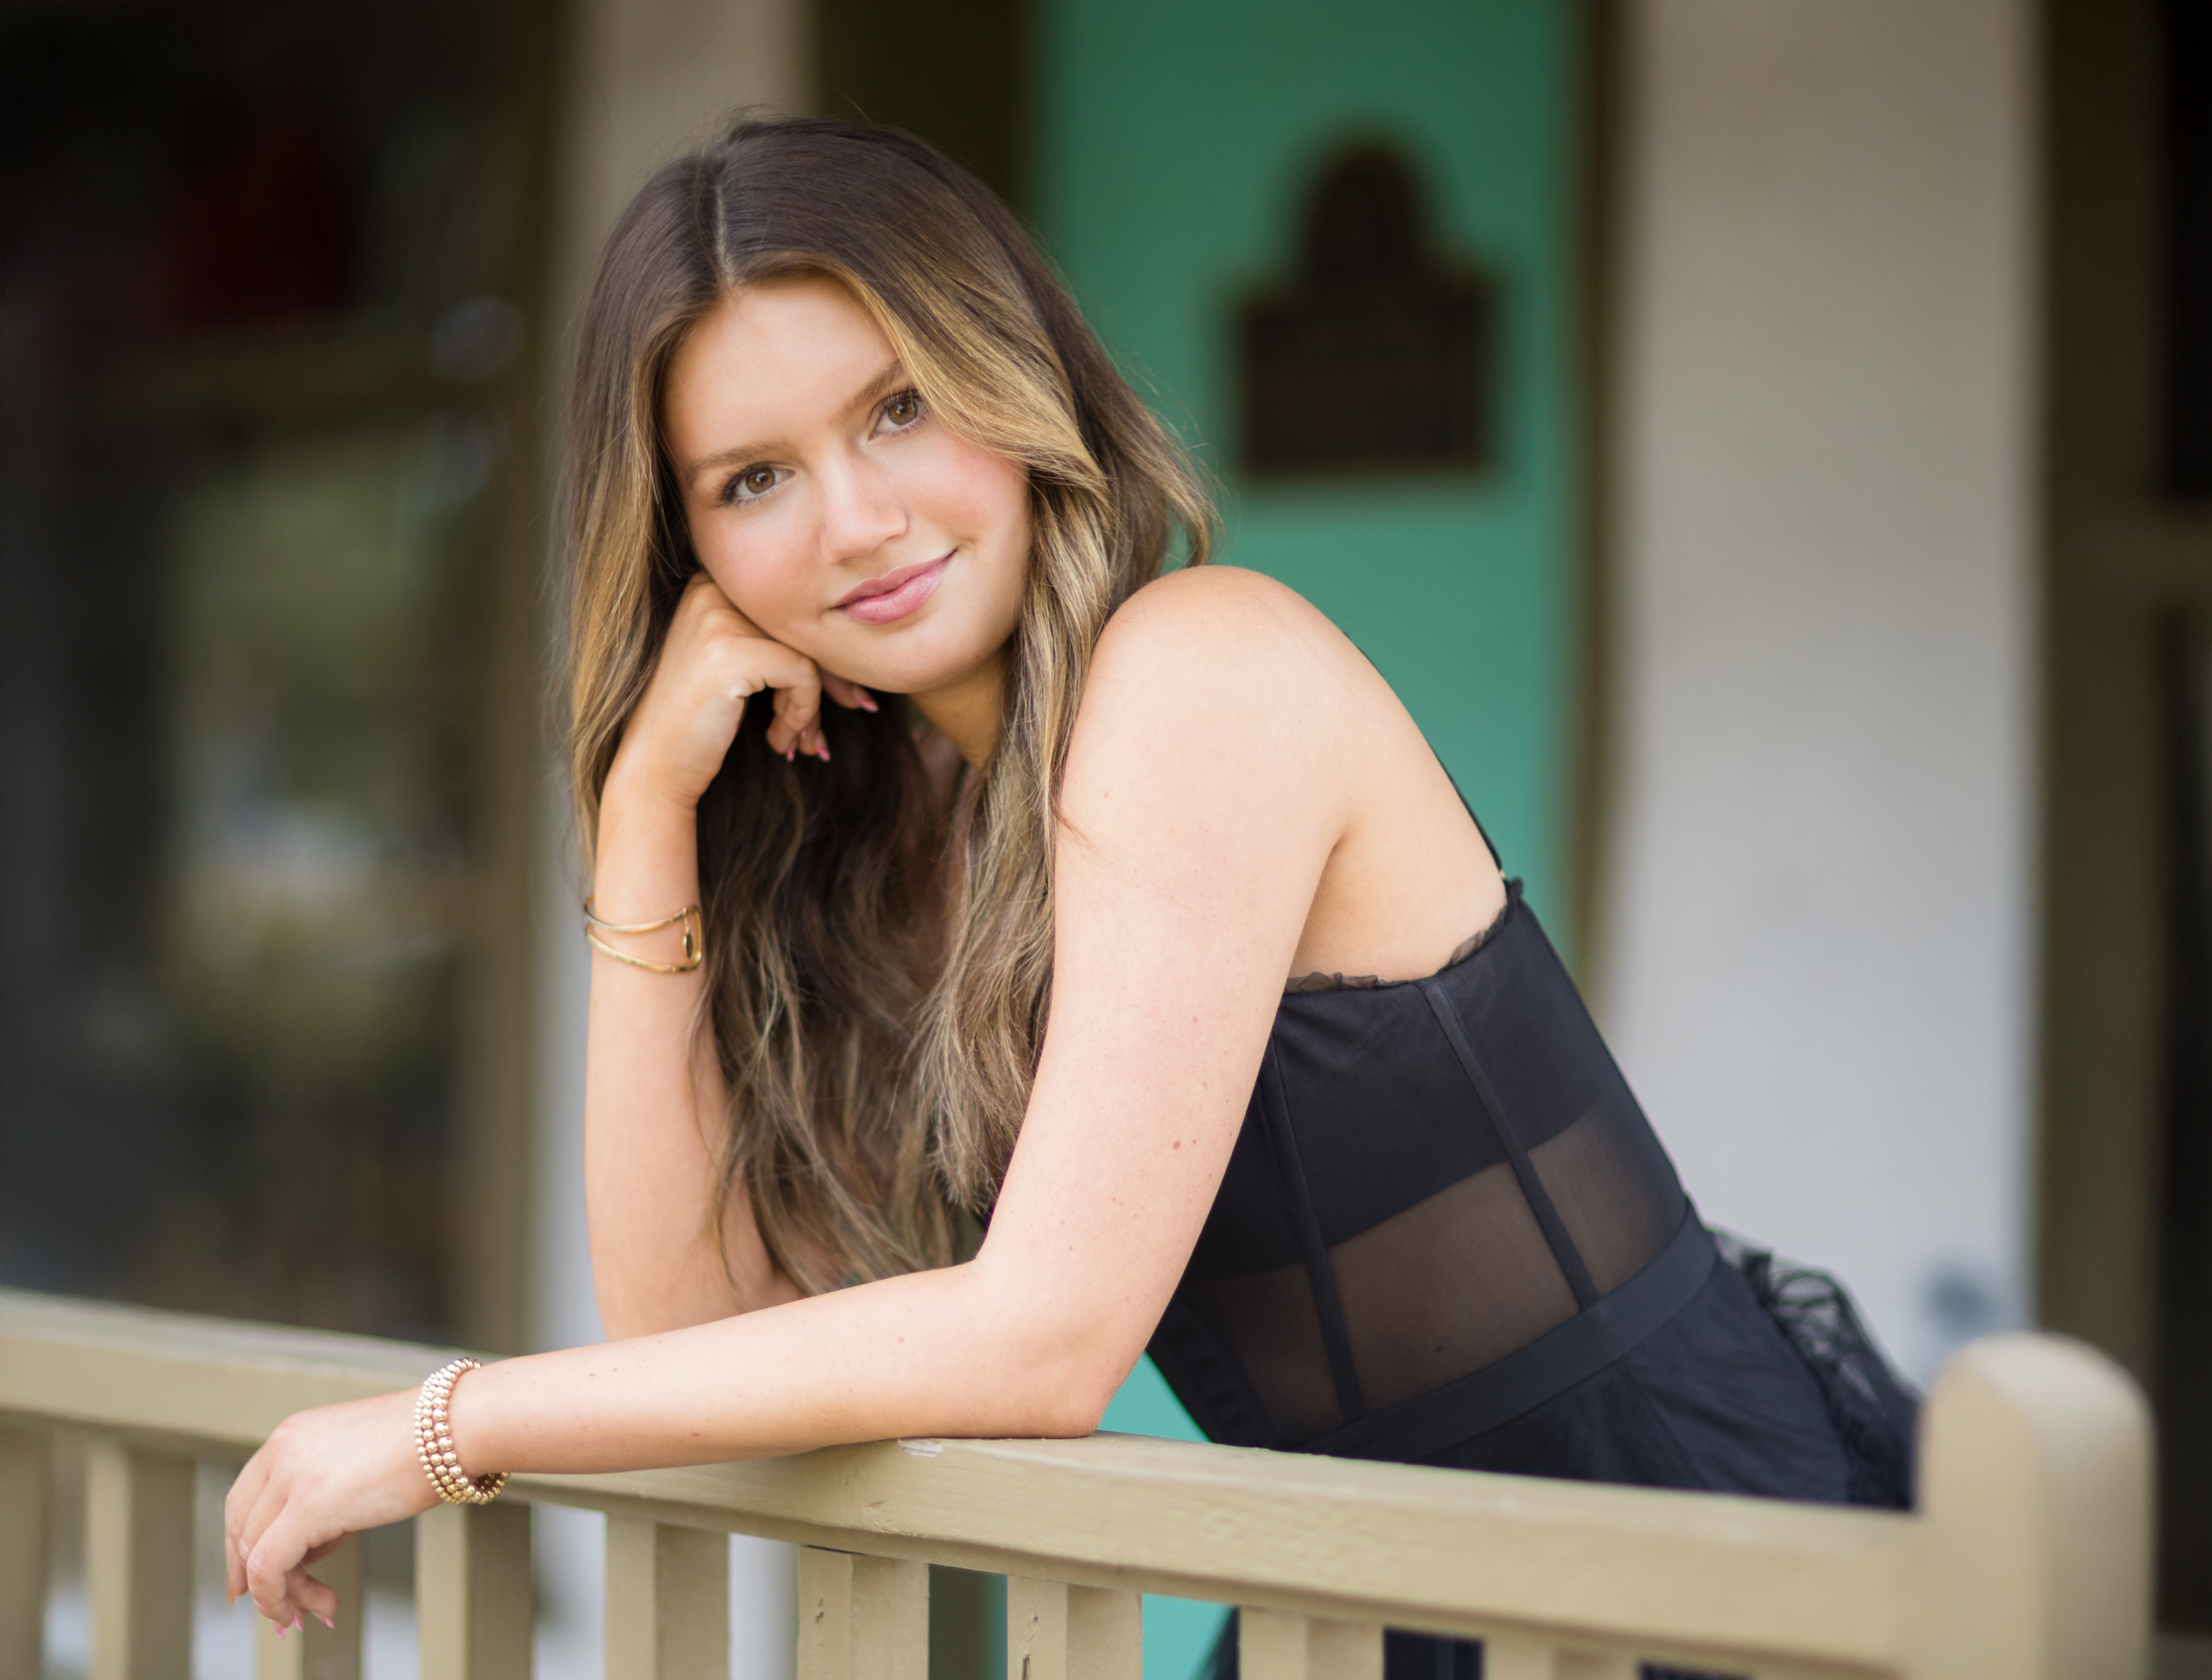
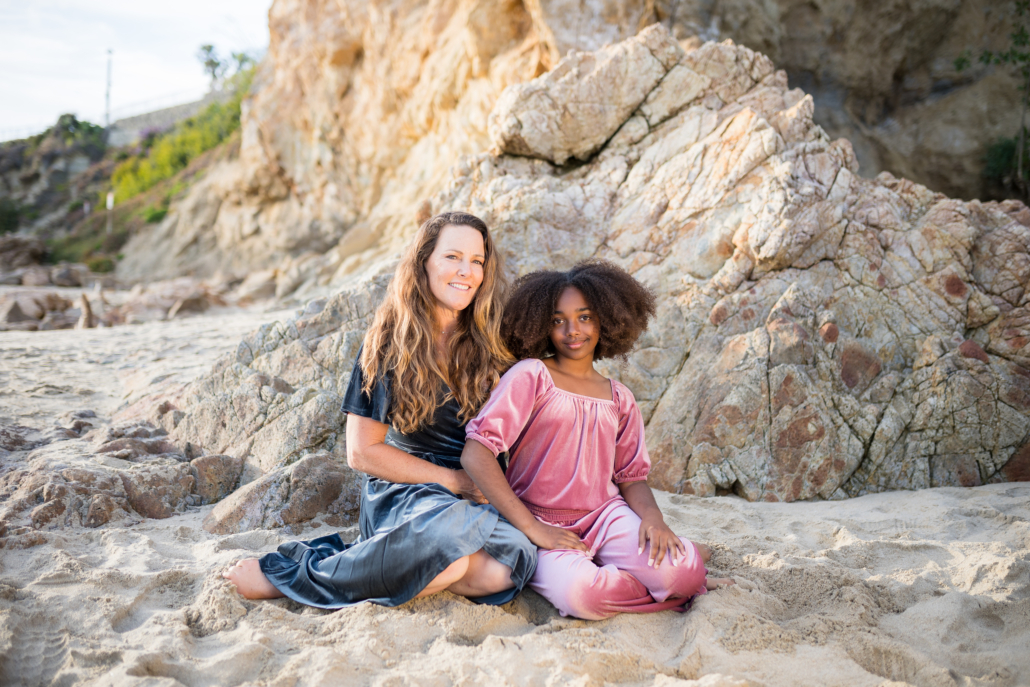
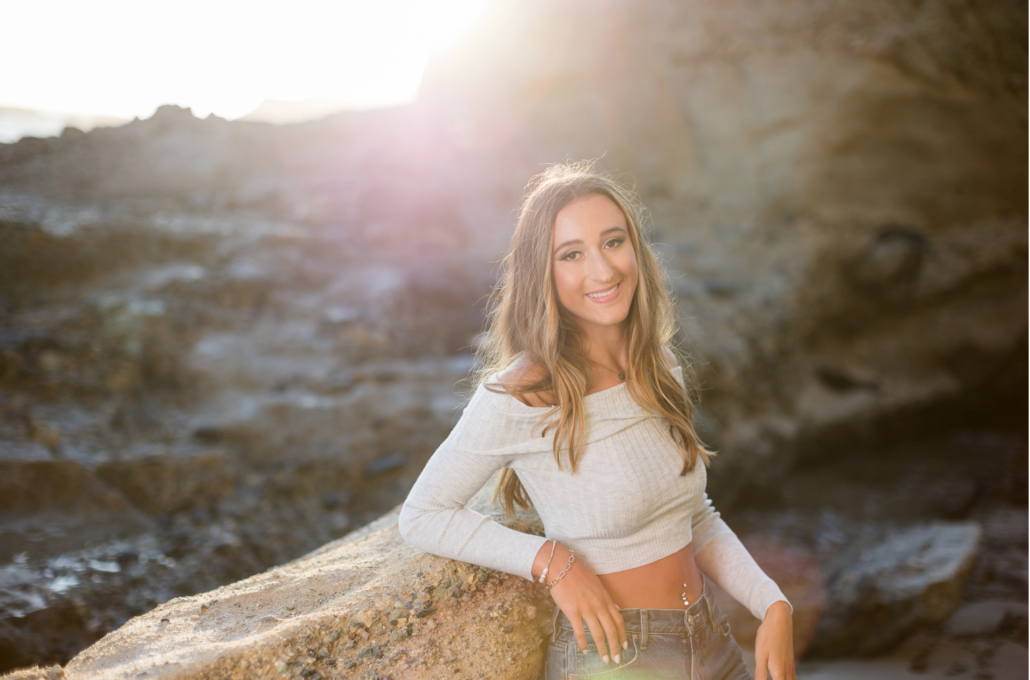
After your photography session, you’ll meet with us for a personalized review appointment to explore all your beautiful images. Whether you’re looking for a statement piece or a custom gallery wall, we’ll help you select the perfect photos that represent your family, milestone, or special moment. Our expert team will guide you in choosing the images that best fit your style.
Step 2: Custom Editing and Design
Once you’ve selected your favorite images, our team will professionally edit each photo to ensure they’re flawless. We then design a custom wall art layout tailored to your space, considering size, composition, and orientation for a harmonious display. Whether you want a large focal point or a well-coordinated gallery, our designs are always customized to your vision.
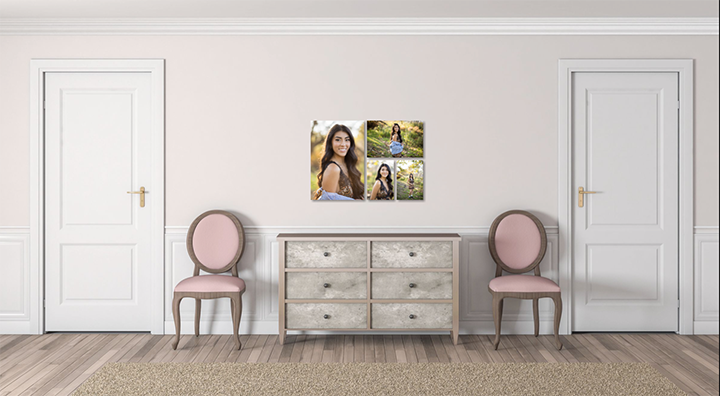
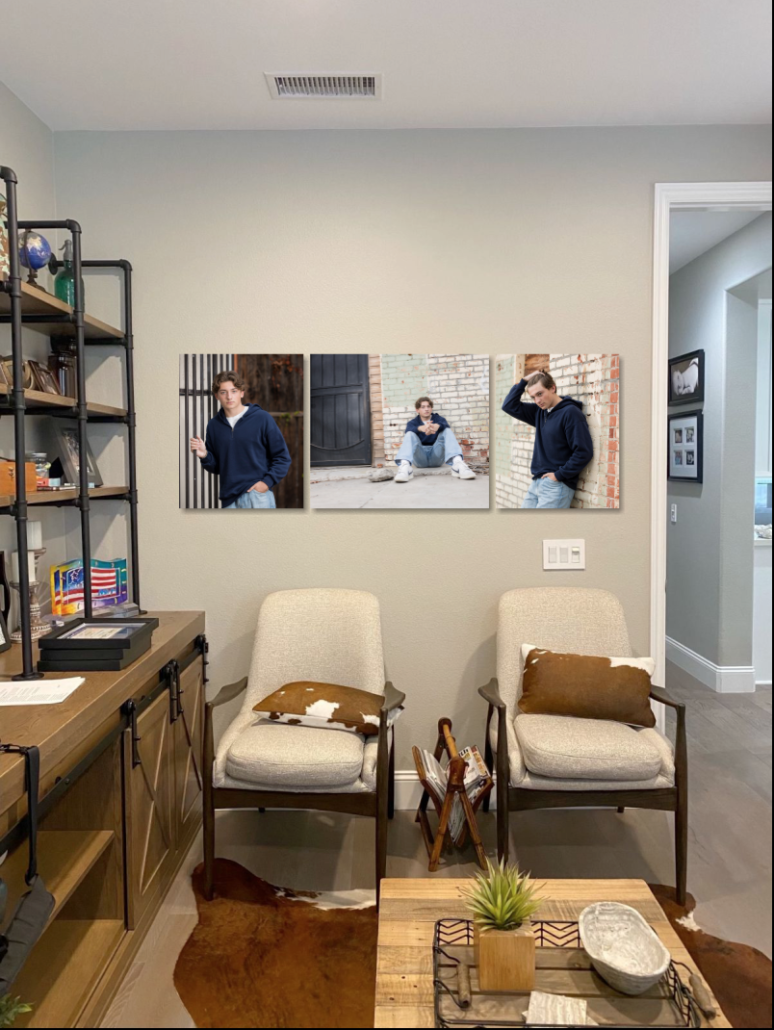
Step 3: Visualize Your Wall Art in Your Home
One of the standout features of our service is our advanced design program, which lets us digitally place your selected images on your actual walls. Simply send us a photo of your wall space, and we’ll show you a realistic preview of how your custom wall art will look. This ensures that each piece will perfectly fit your space, taking the guesswork out of the process.
![]()
Step 4: Bring Your Vision to Life
Once you’re happy with the design, we bring it to life by printing your custom wall art on premium materials, such as canvas, metal, or framed prints. Each piece is carefully crafted to ensure vibrant colors, durability, and a timeless finish that will preserve your memories for years to come.

Step 5: Enjoy Your Custom Wall Art
The final step is simple: enjoy your custom wall art! With your beautiful new pieces hanging on the walls, your home will be filled with warmth, personality, and the special moments captured in your photography session. Not only will these pieces enhance your decor, but they’ll also serve as daily reminders of your most cherished memories.

Book Your Photography Session Today
Ready to transform your home with custom wall art? Start by booking your photography session with Blue Sky’s Studio today. From capturing your special moments to designing timeless artwork, we’re here to help you every step of the way. Contact us now to schedule your personalized review appointment and start creating the custom wall art of your dreams.
Let’s create something beautiful together!
🖼️ FAQ: How to Turn Family Photos Into Beautiful Wall Art for Your Home
1. What is the best way to display family photos on your walls?
The most popular options include gallery walls, canvas prints, framed enlargements, metal or acrylic prints, and photo ledges. A gallery wall with mixed frame sizes is a modern and timeless choice for living rooms and hallways.
2. How do I choose the right size for wall art from my family photos?
A good rule of thumb:
-
Above a couch or bed: Choose a large statement piece (at least 24×36) or a set of 2–3 medium prints.
-
Staircase or hallway: Go with a gallery wall featuring various sizes like 11×14, 16×20, or 8×10. Mock-up apps like WallApp or Canva can help you visualize sizes before printing.
3. What are the best materials for printing family photo wall art?
Top choices:
-
Canvas: Warm, timeless, no glass glare.
-
Framed prints: Classic and versatile.
-
Metal prints: Sleek and modern, great for high-contrast images.
-
Acrylic prints: Glossy, vibrant, and contemporary.
4. How do I hang family photo wall art perfectly straight?
Use a level, painter’s tape, and measuring tape to mark your wall first. Hanging templates or frame kits from stores like Target or Amazon can help. For gallery walls, lay your arrangement on the floor first, then trace the layout onto the wall.
5. Should I hang family photos in every room?
Yes—strategically. Try:
-
Living room: A bold statement piece or family gallery wall
-
Hallways: A photo timeline or travel memories
-
Bedrooms: Soft, personal moments (black and white looks great)
-
Entryway: Welcoming, smiling faces
6. How do I design a gallery wall with family photos?
Stick to a theme (black-and-white, all color, or all candid), use cohesive frames, and keep spacing consistent (2–3 inches apart). Layouts like grids, stair-step, or salon-style (randomized) work well.
7. What is the best lighting for family photo wall art?
Natural light is great, but avoid direct sun to prevent fading. Add picture lights, spotlights, or LED strips above frames to highlight your photos at night.
8. Can I change my wall art seasonally or yearly?
Absolutely! Use easy-swap frames or gallery ledges for simple updates. Consider seasonal photos, yearly portraits, or new family milestones to refresh your walls without redoing everything.
9. Where can I order high-quality prints for wall art?
Top-rated sites include:
-
Artifact Uprising – artisan quality, minimalist style
-
Mpix – color-accurate and durable
-
Canva or Shutterfly – user-friendly and customizable
-
Small local print labs – support local, often better quality control
10. What’s trending in family wall art right now?
Trending styles include:
-
Black and white photo walls
-
Oversized canvas prints
-
Mix of candid and posed shots
-
Floating frames or frameless metal prints
-
Neutral-toned or desaturated edits for a modern feel