Christmas In July Family Portraits
“Where Summer Meets the Season of Joy: Christmas in July Portraits”
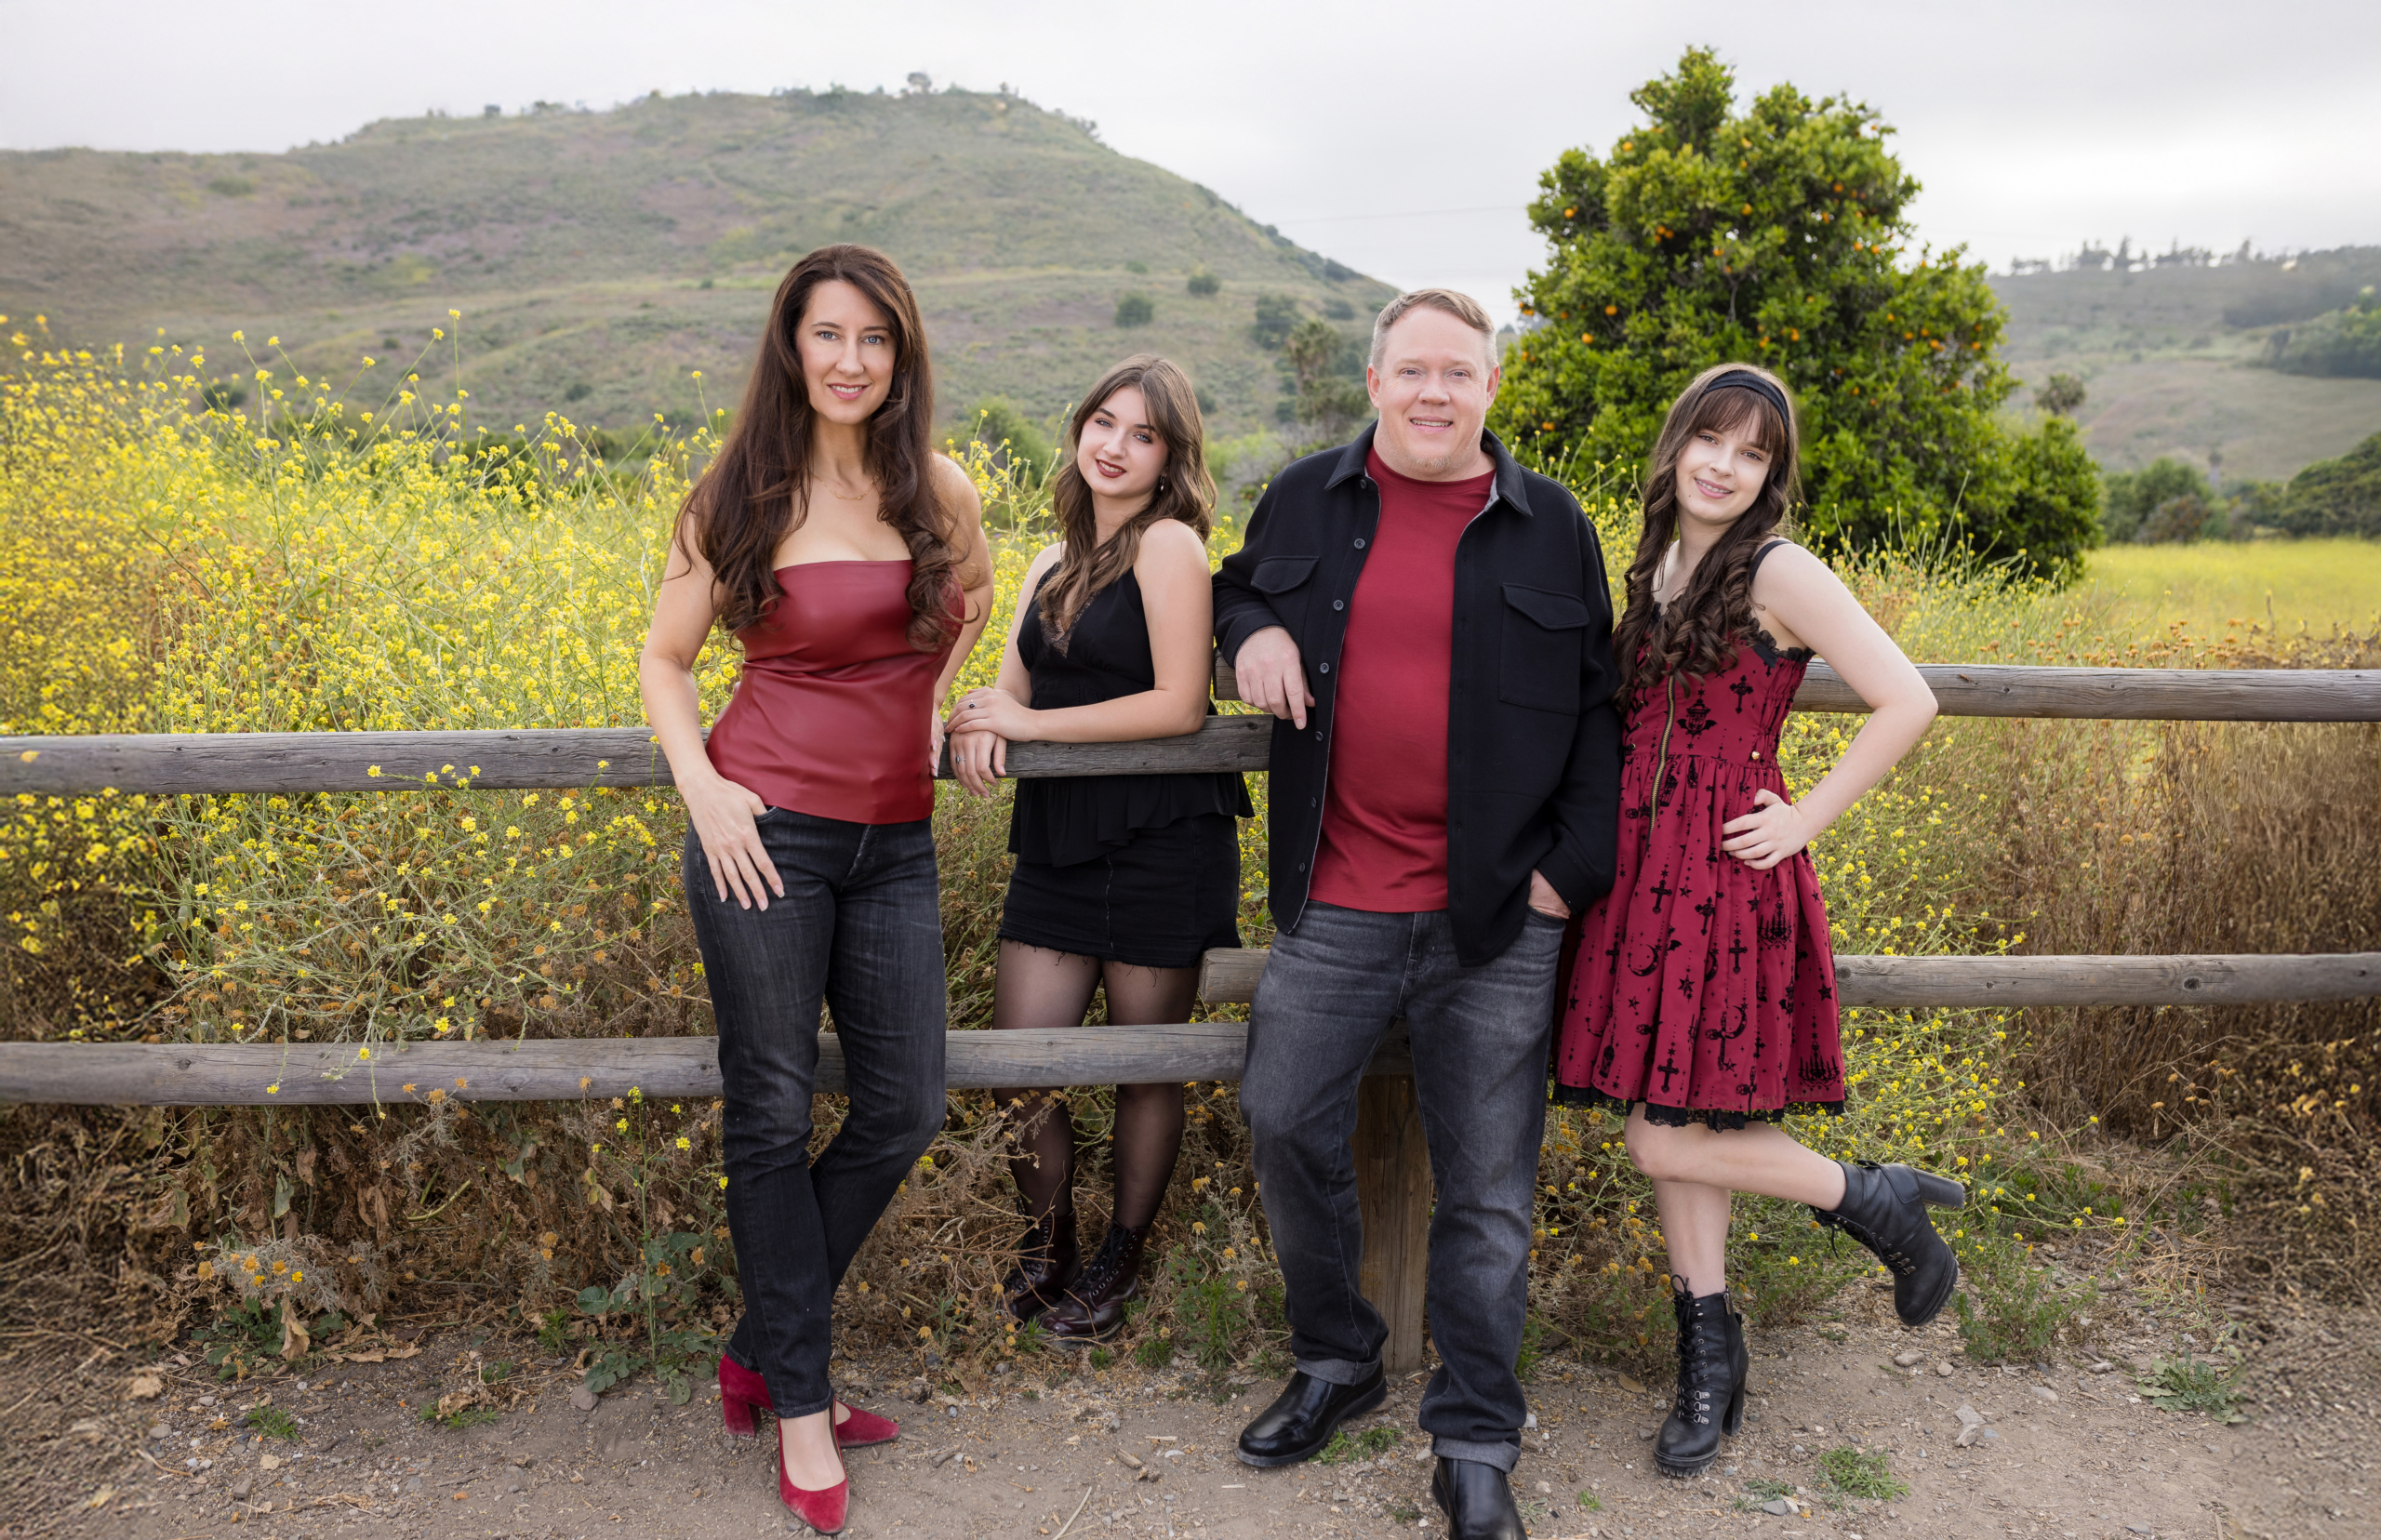
Celebrate the spirit of the season before the holiday rush begins. Blue Skys Studio invites you to take part in our exclusive Christmas in July family portraits event—a luxurious opportunity to create heirloom artwork while the sun is still shining.a luxurious opportunity to create meaningful family portraits and heirloom artwork while the sun is still shining.
With just 12 private sessions available, this is a limited-time offer designed for families who value beauty, connection, and timeless imagery.
A Signature Holiday Portrait Experience – Only $249
This summer, treat your family to a one-of-a-kind session that blends elegance with ease. For just $249, you’ll receive:
-
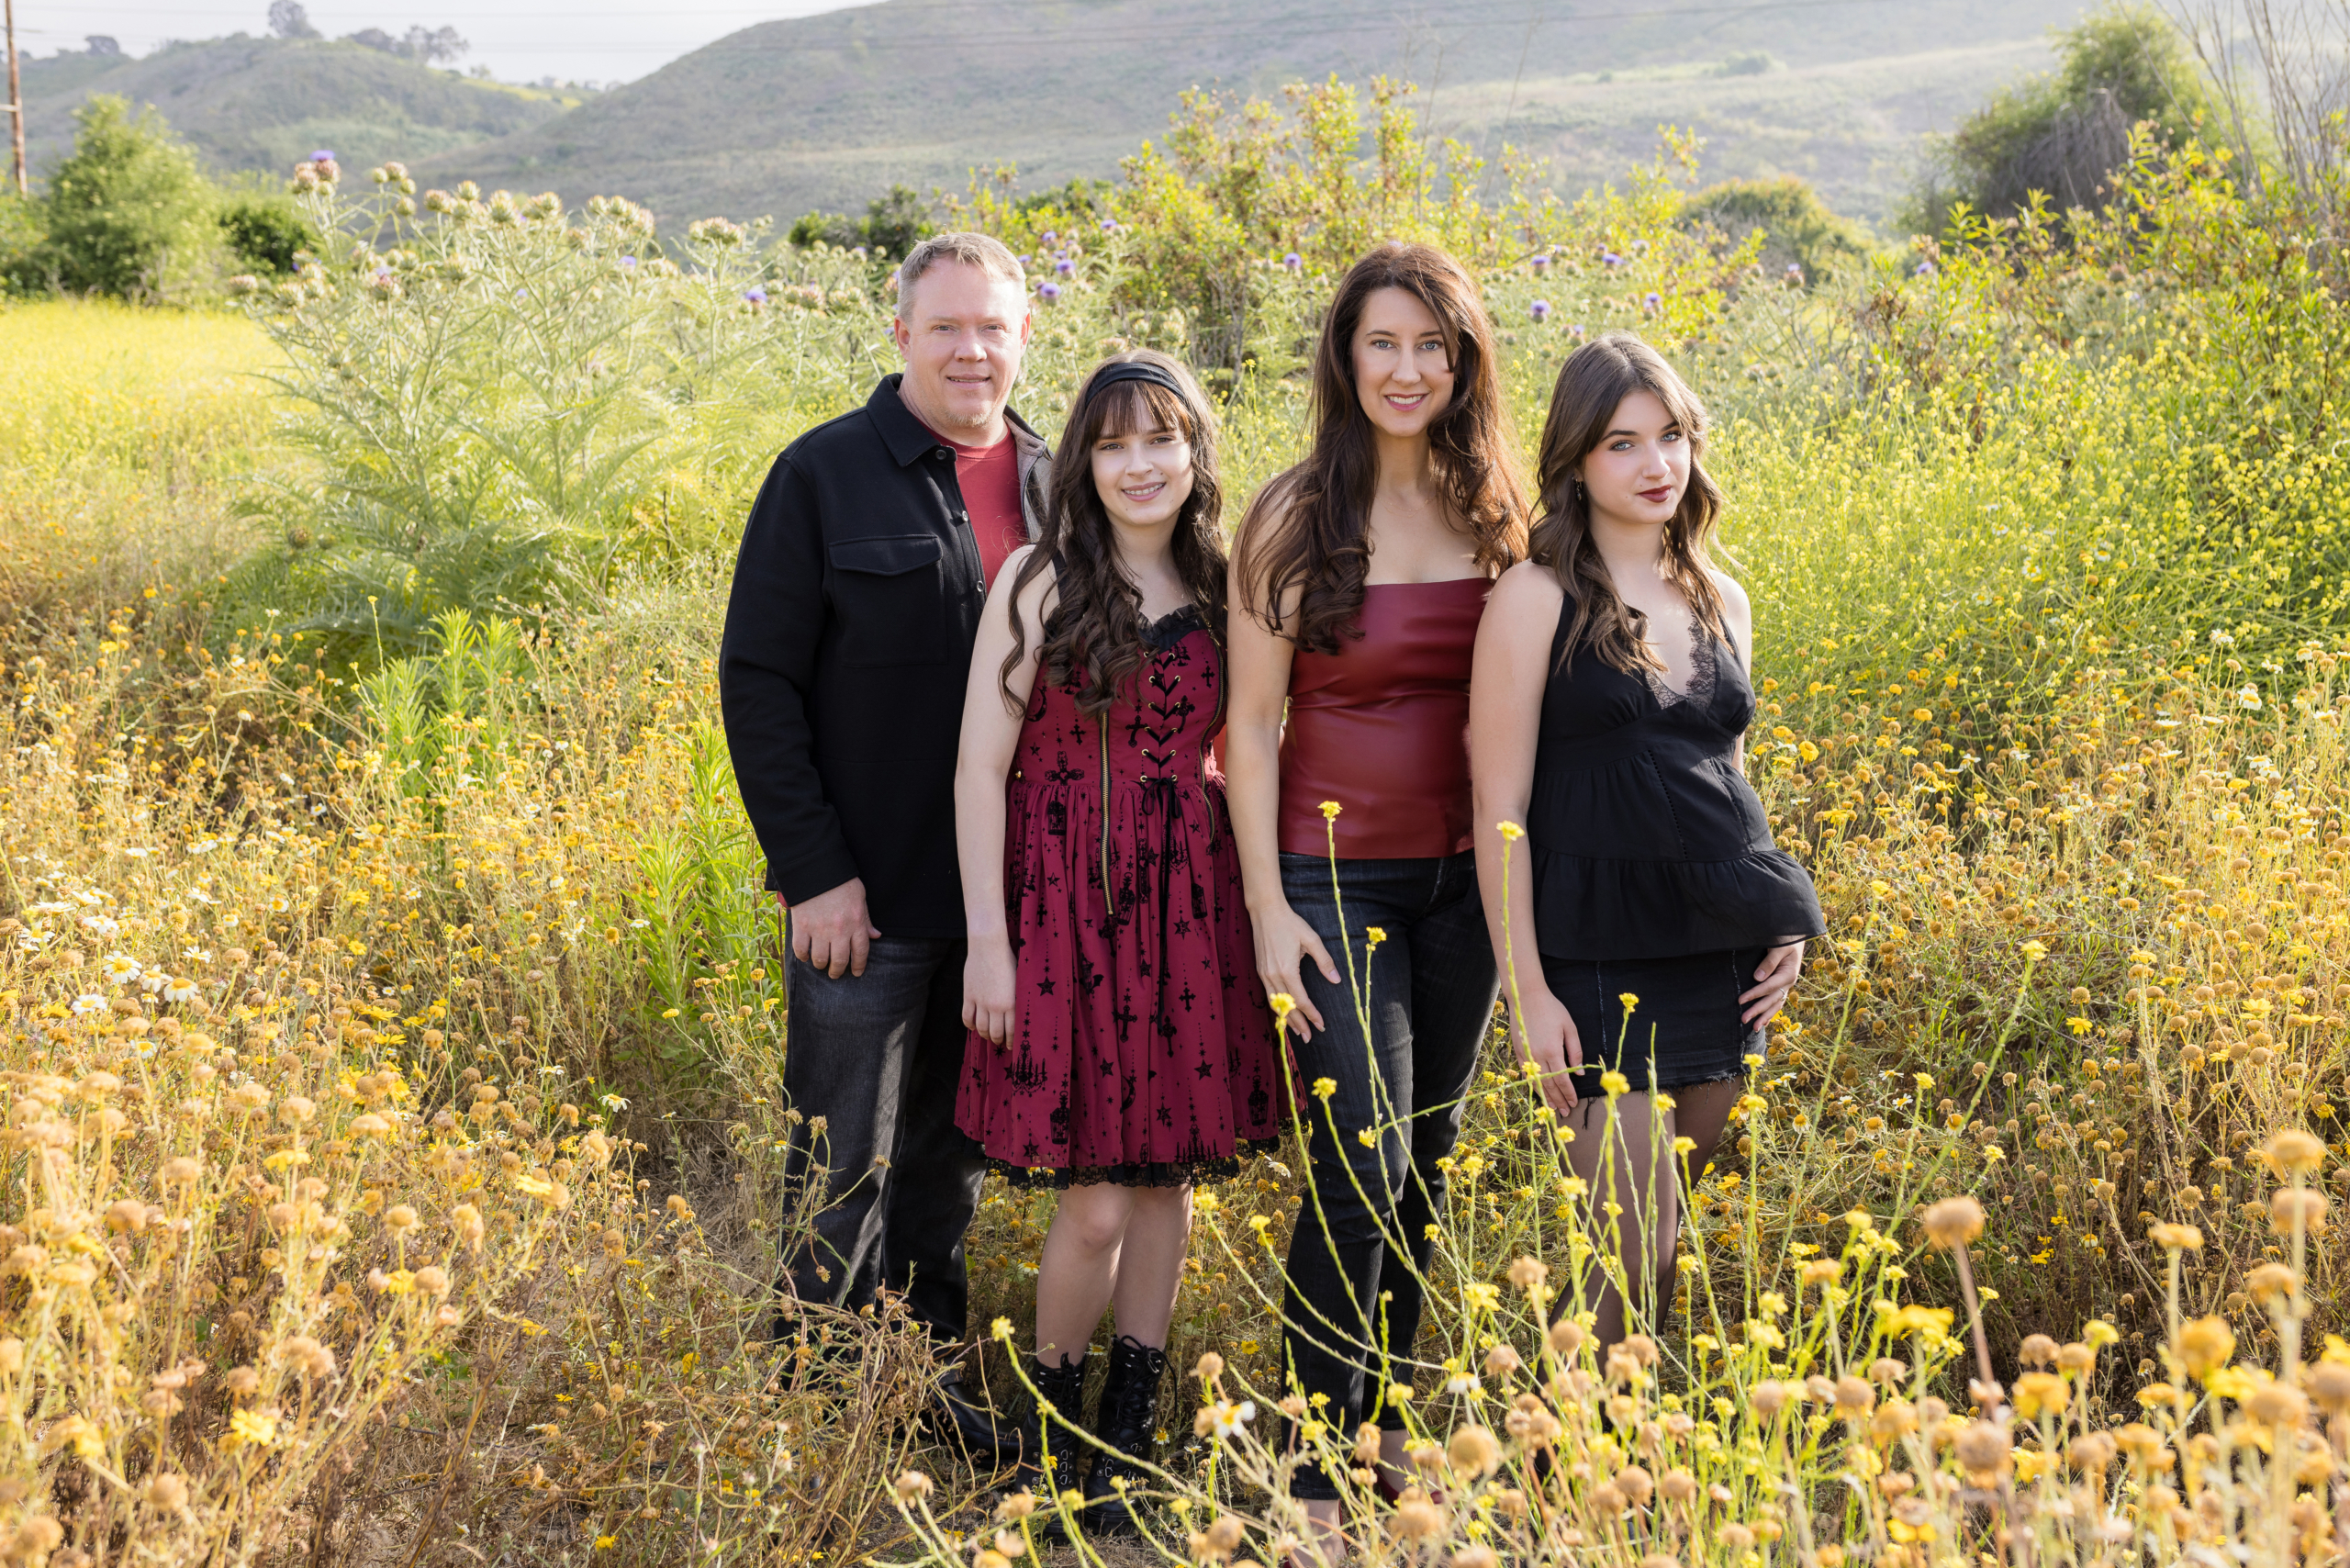
A full-length family portrait session at a stunning outdoor location of your choice
-
25 custom-designed holiday cards featuring your favorite image(s)
-
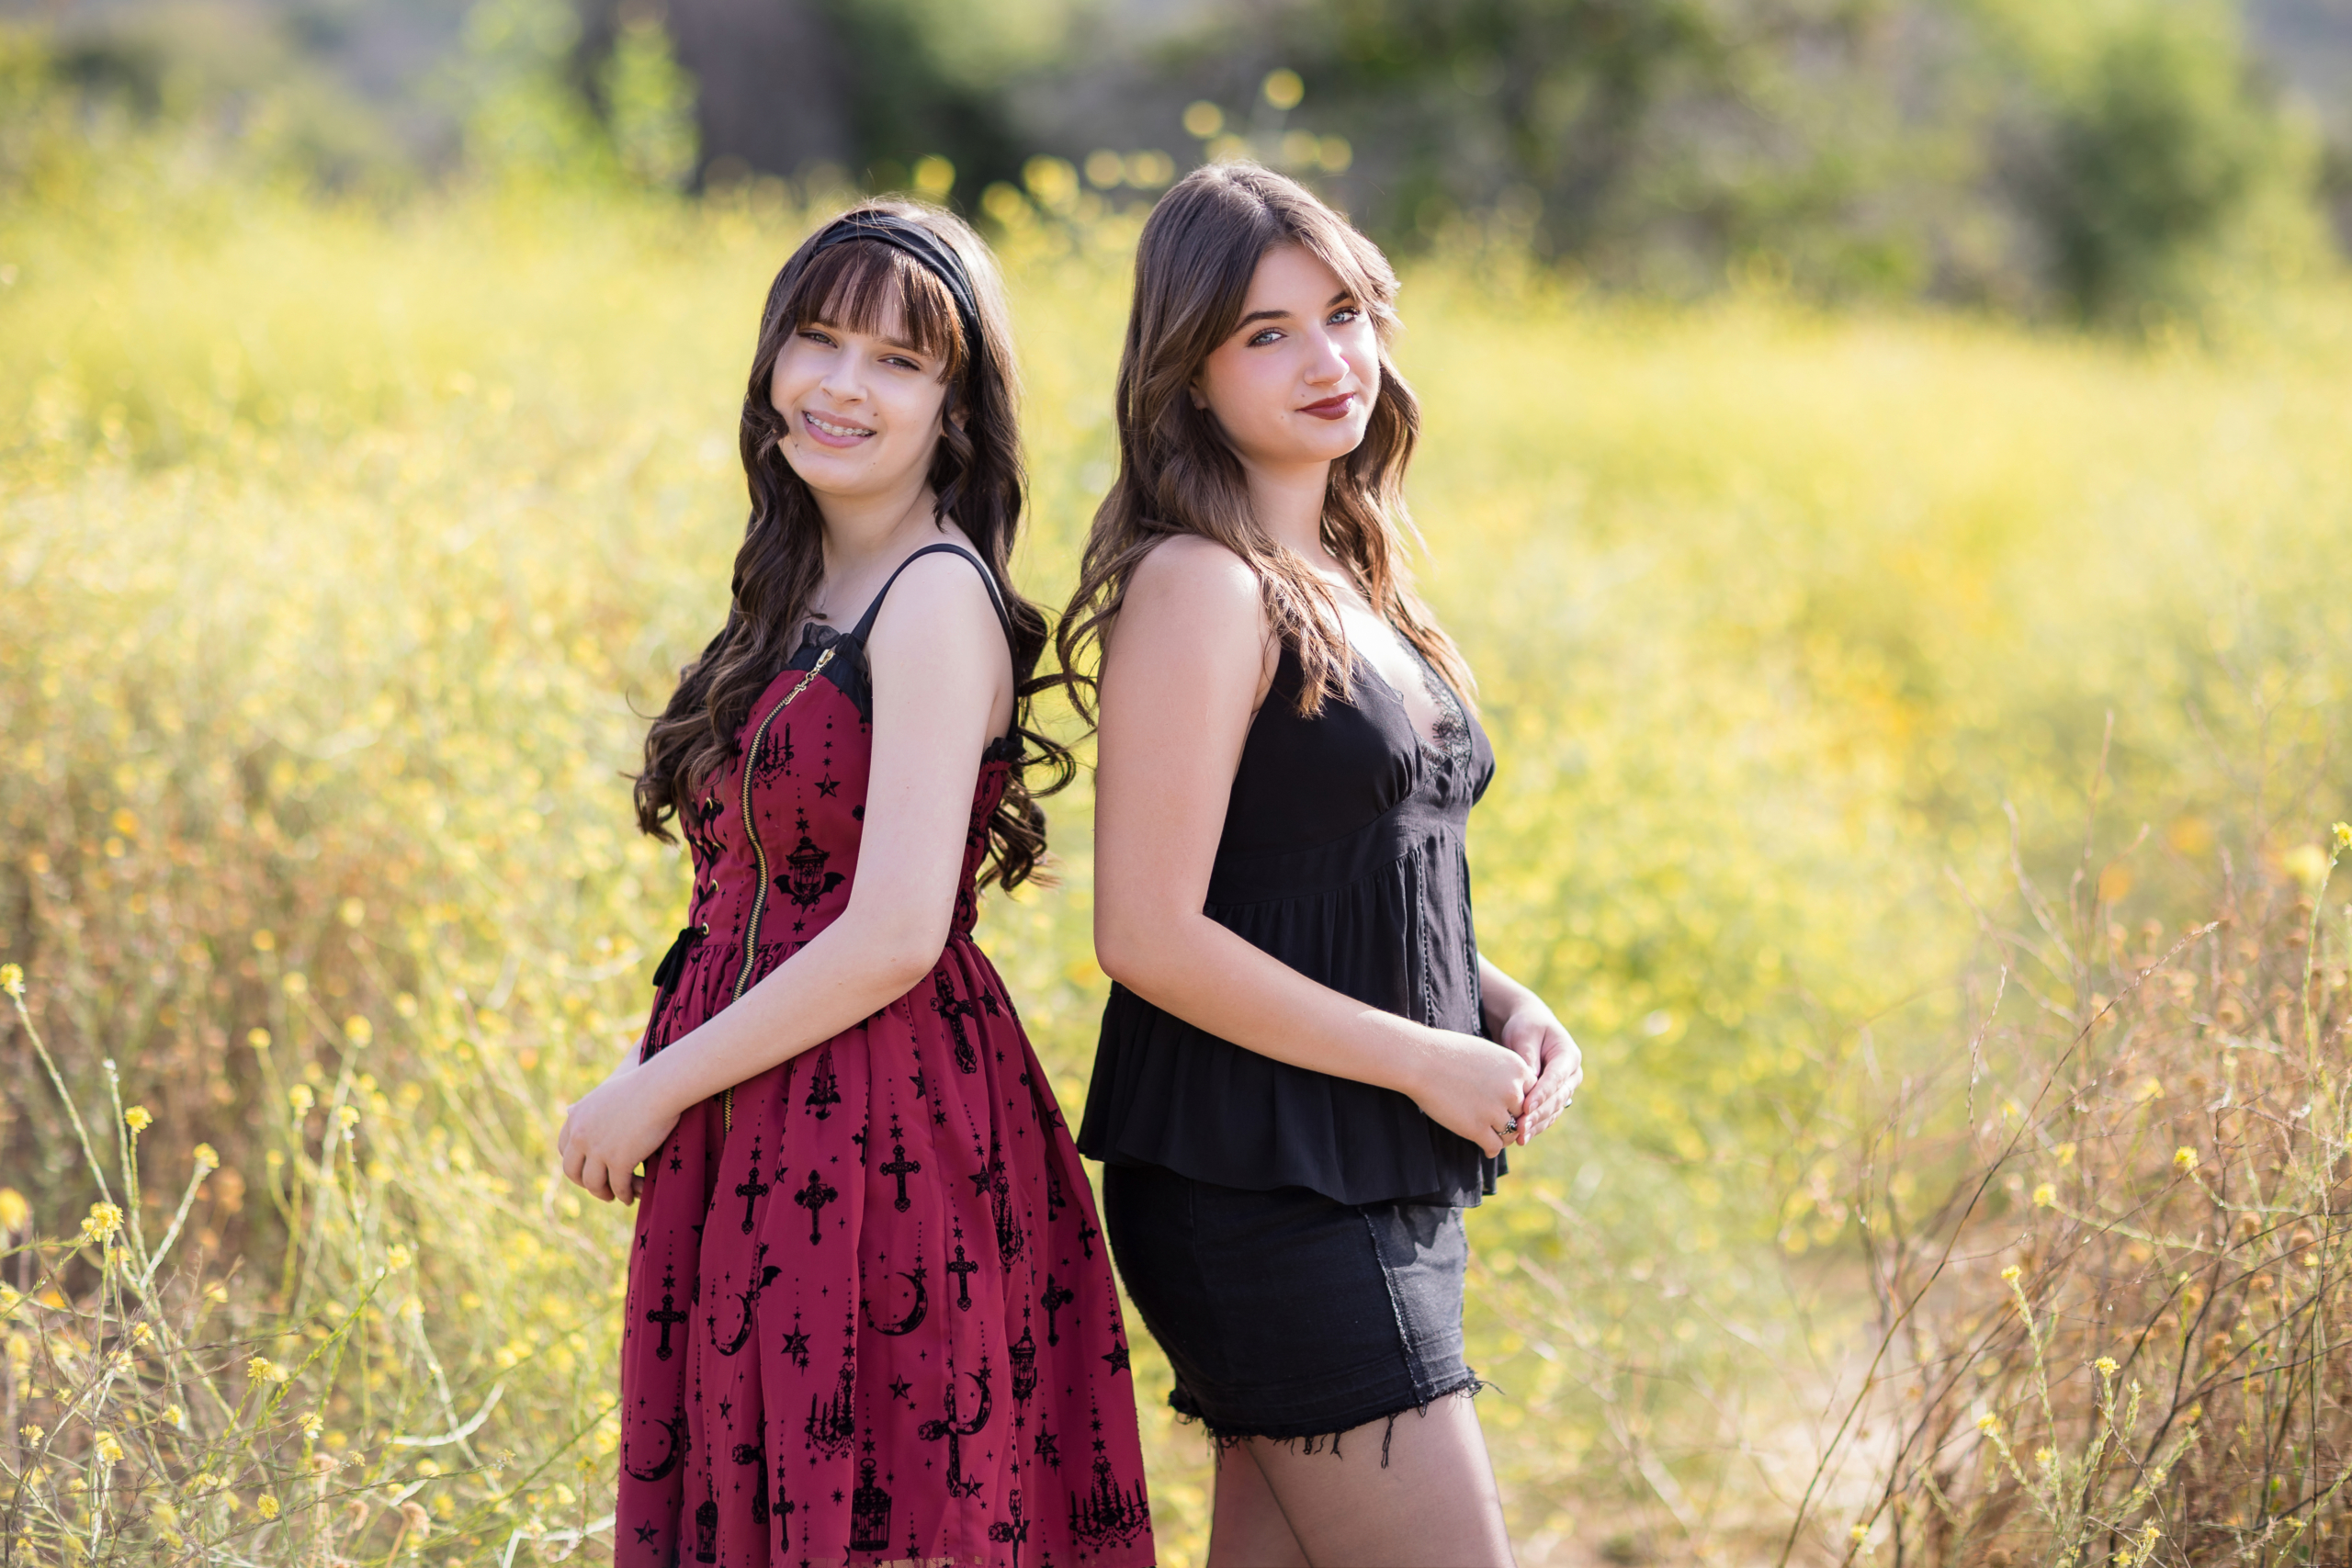
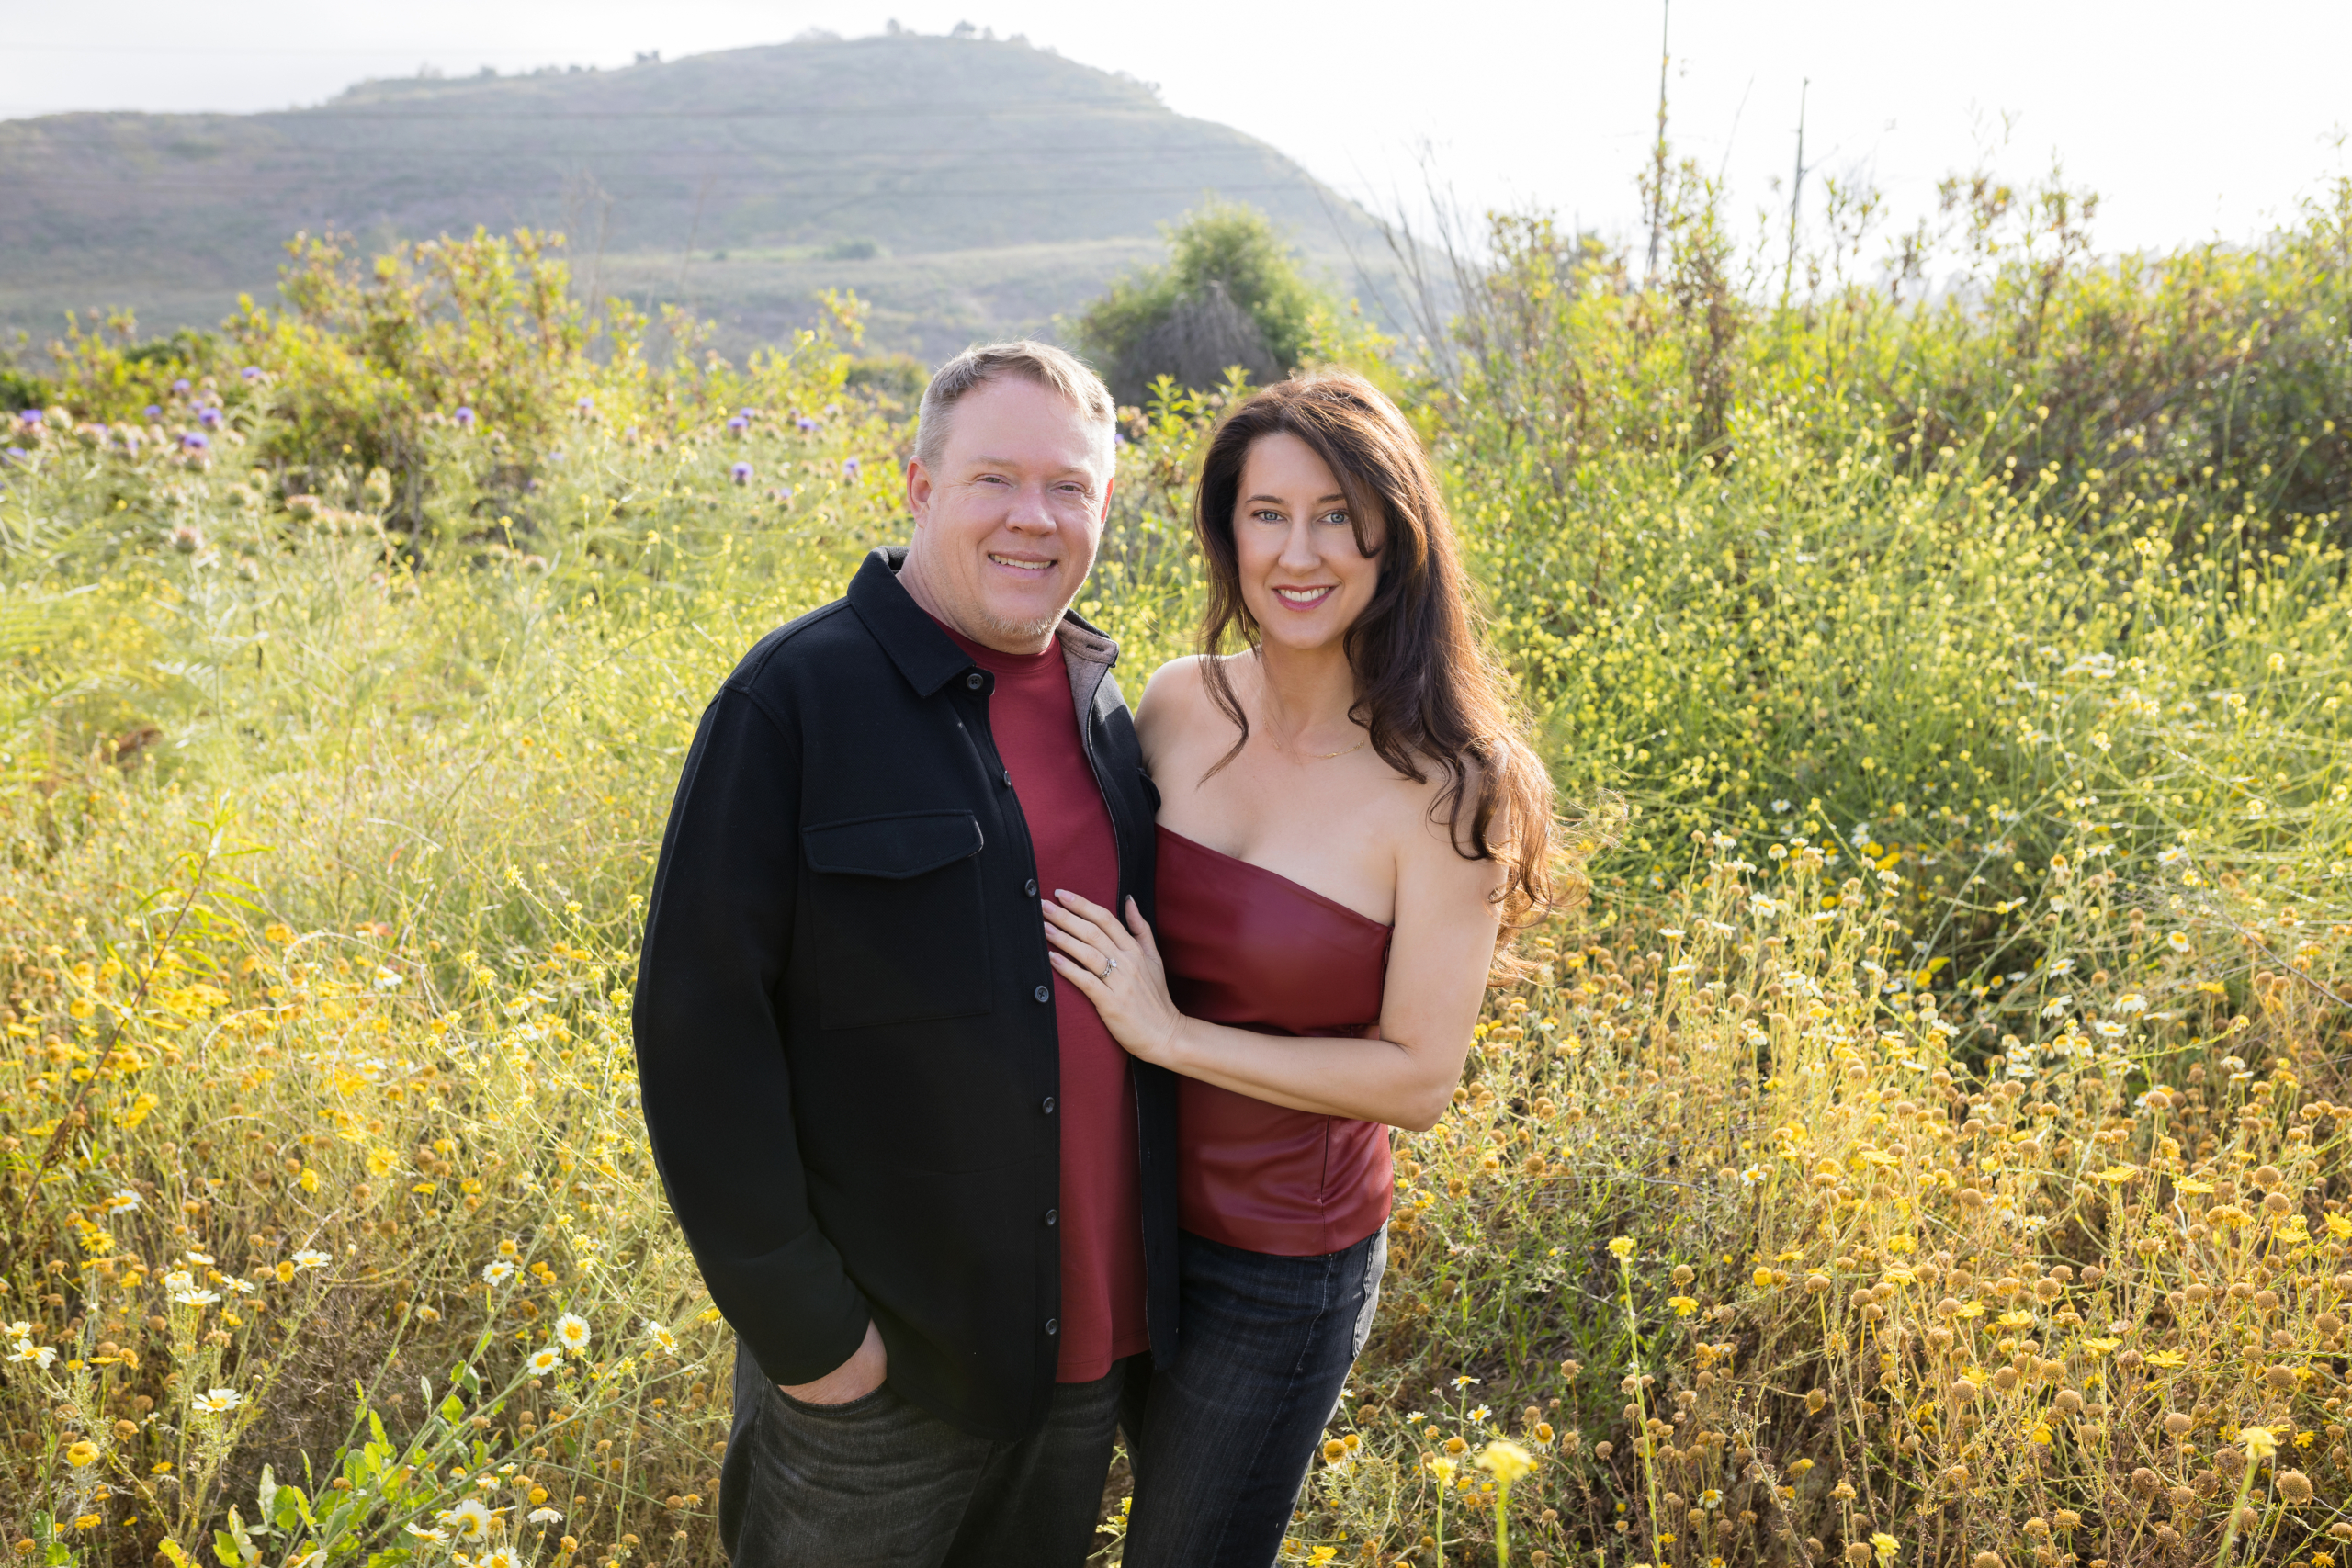
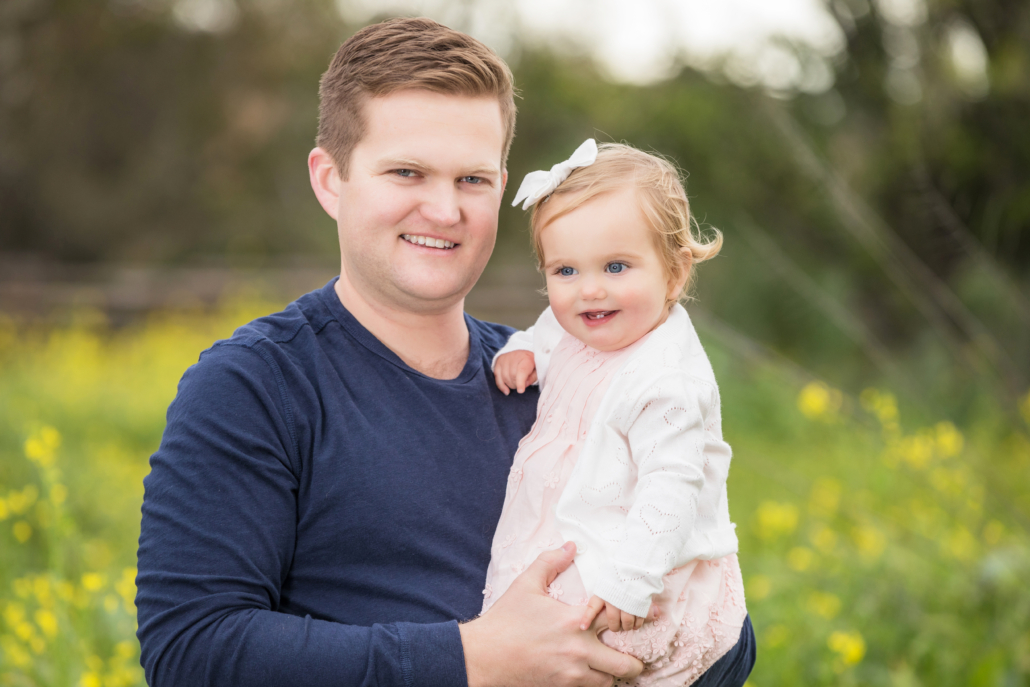
A beautifully curated gallery of candid and posed portraits, including family groupings, siblings, and individual moments
-
Personalized wardrobe guidance and location styling
-
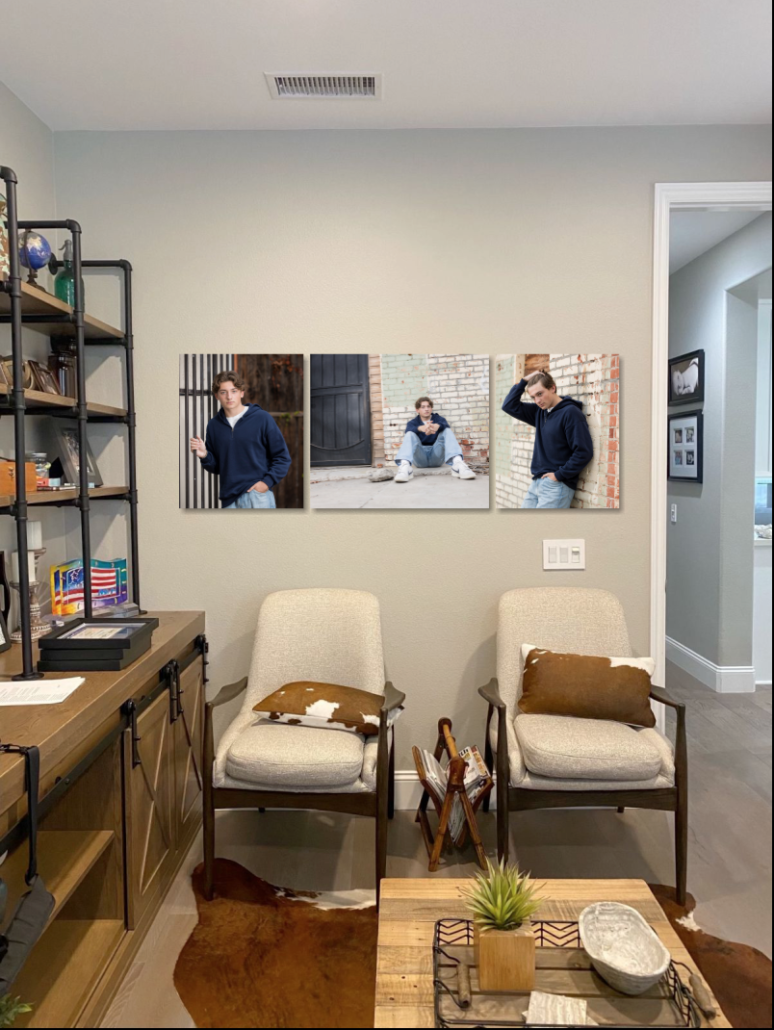
Optional upgrades for custom albums, gallery wall installations, and fine-art prints
📸 Book Your Family’s Session Now →
Why Choose Us for Your Christmas in July Family Portraits
At Blue Skys Studio, we believe that portraiture is more than photography—it’s a chance to tell your family’s story through sophisticated, soulful images. For over 20 years, we’ve worked with Orange County’s most discerning families to create portraits that are:
-
Luxuriously styled and expertly lit
-
Warm, candid, and full of joy
-
Tailored to your personality and home decor aesthetic
Whether you dream of a serene beach backdrop, a lush garden, or a modern cityscape, we’ll guide you through every detail—from outfit styling to natural posing—so you feel confident and cared for throughout your entire experience.

📍 Choose Your Perfect Backdrop
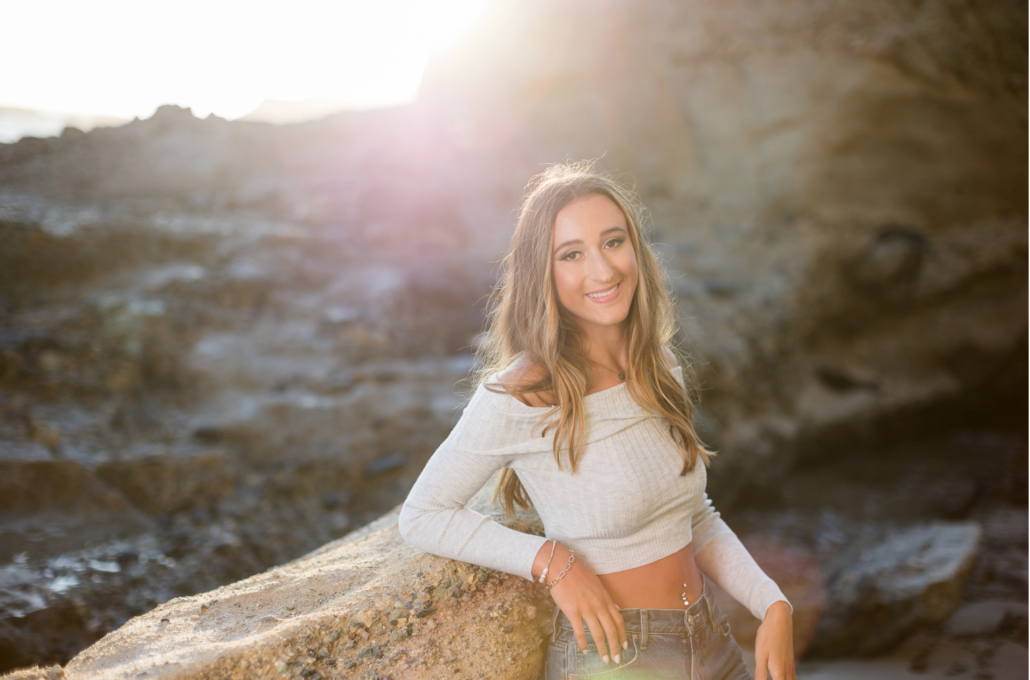
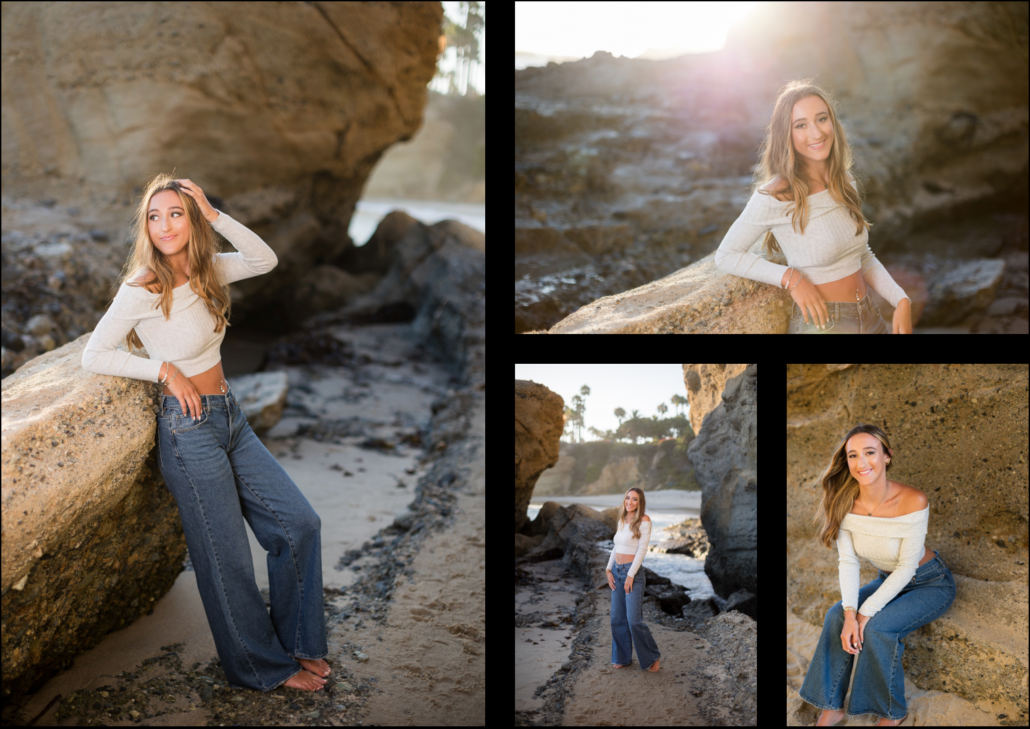
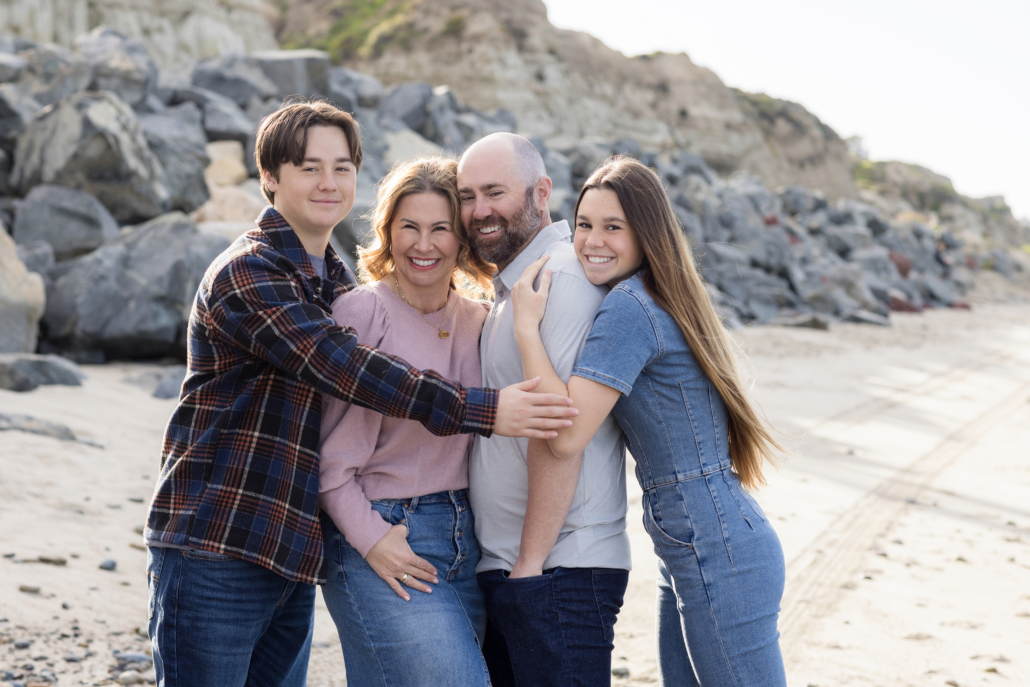
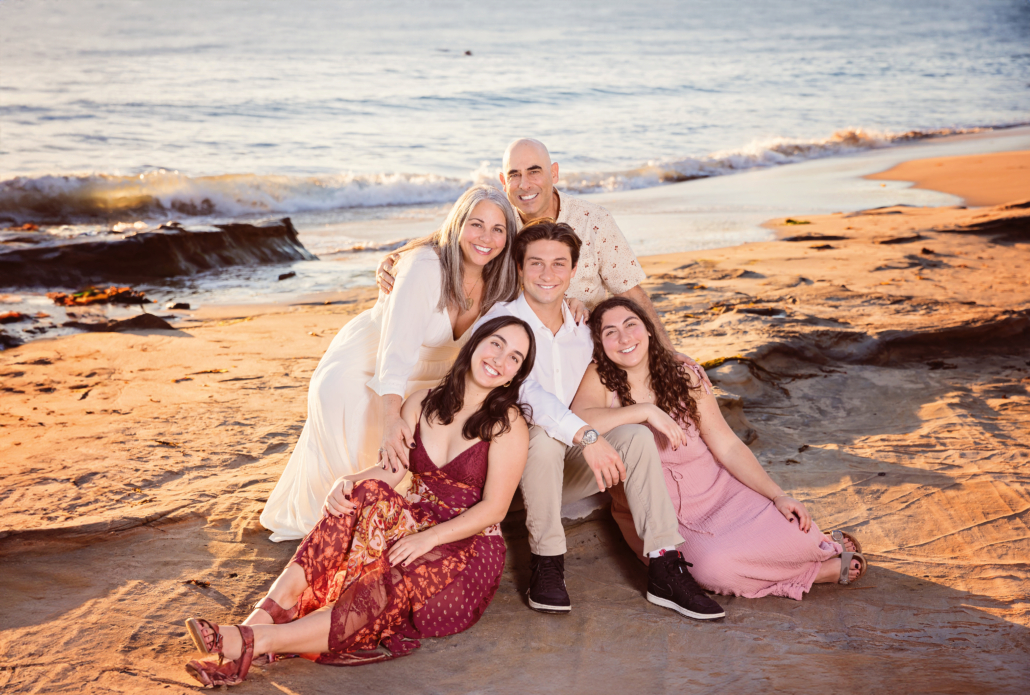
🌊 Scenic Beach Portraits
The ultimate SoCal experience. Let the ocean breeze and golden-hour glow set the scene for timeless family portraits.
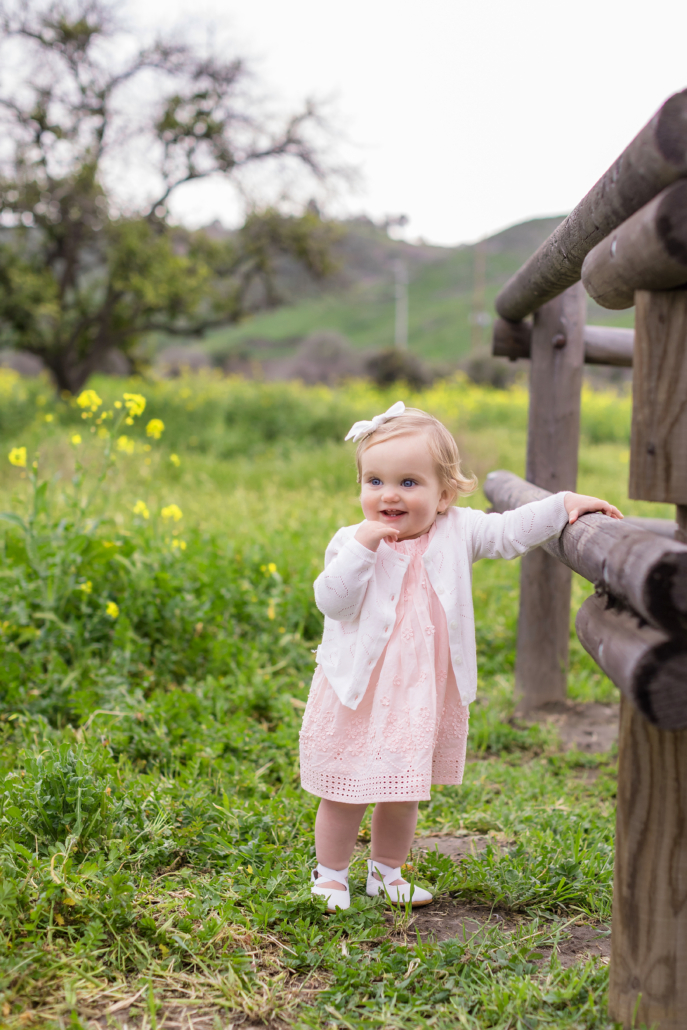
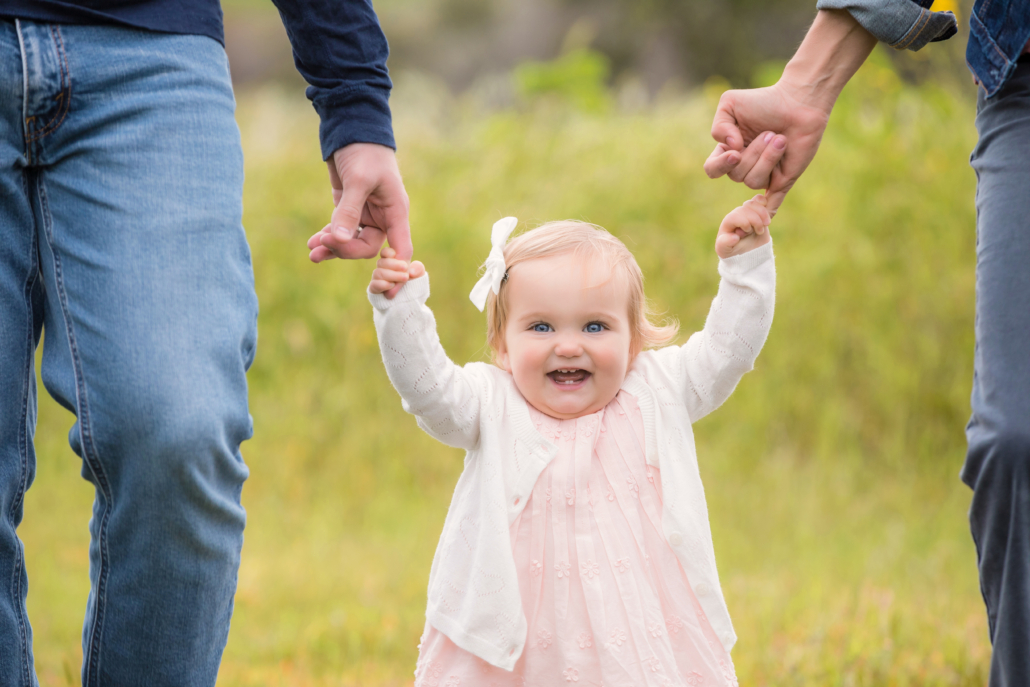
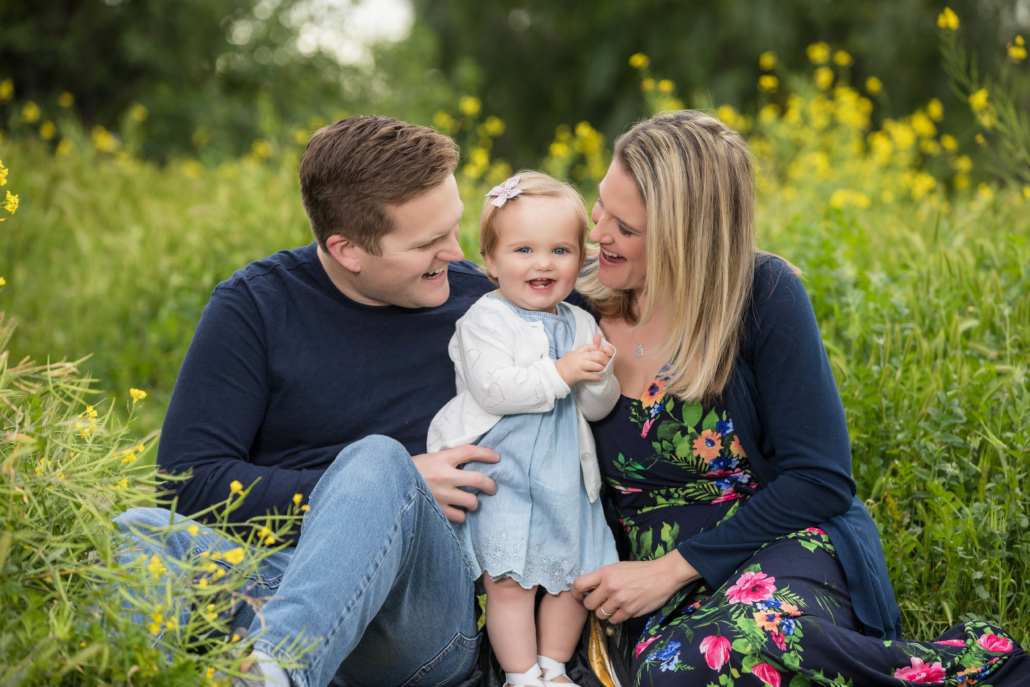
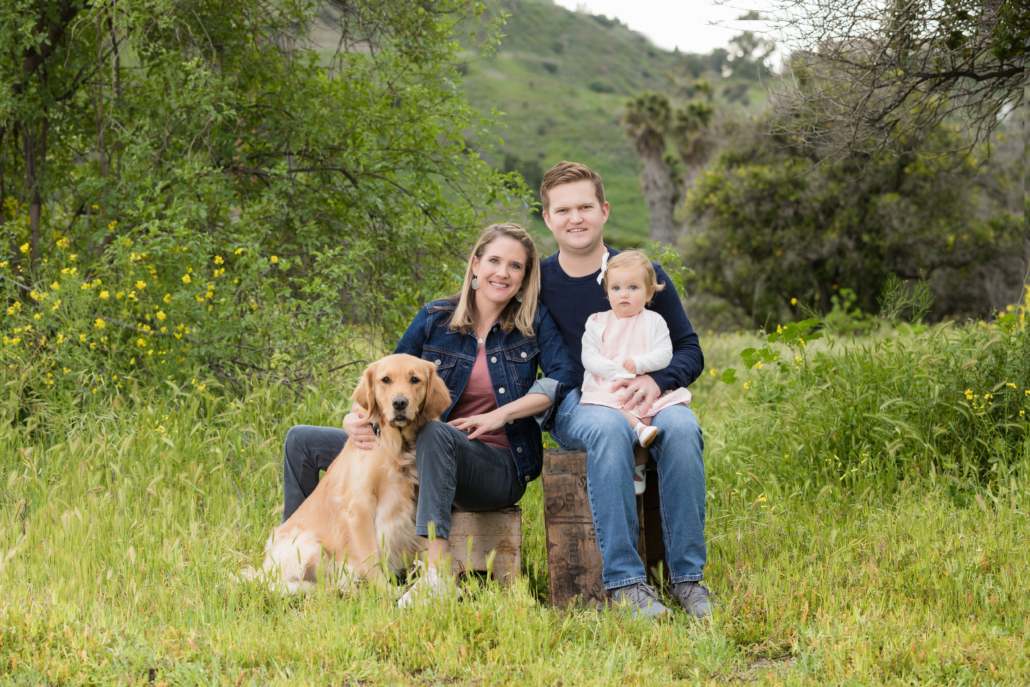
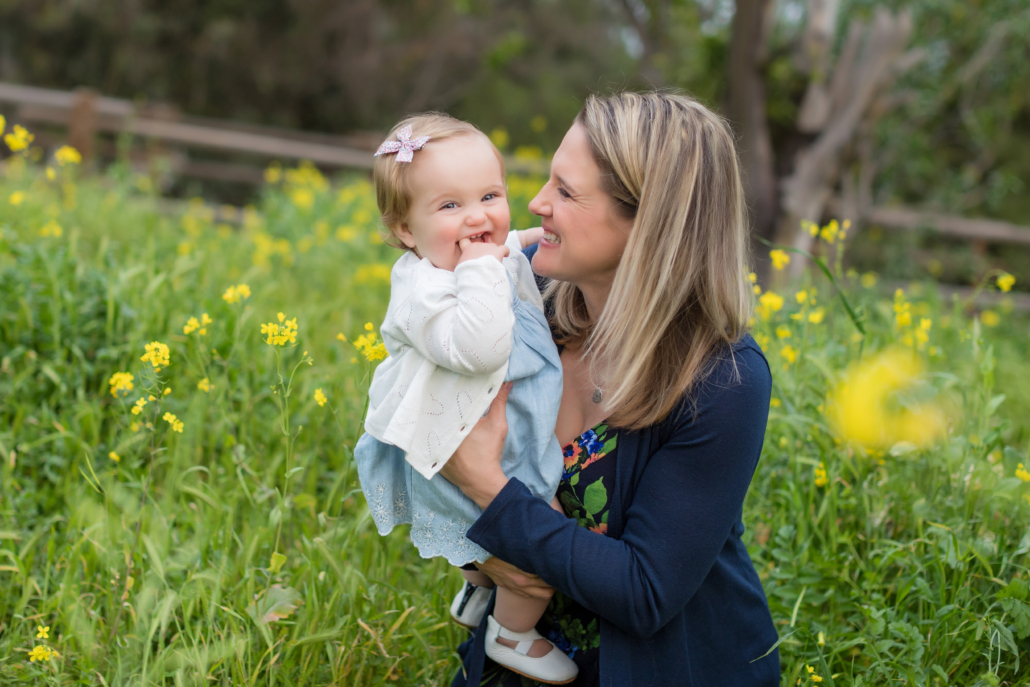
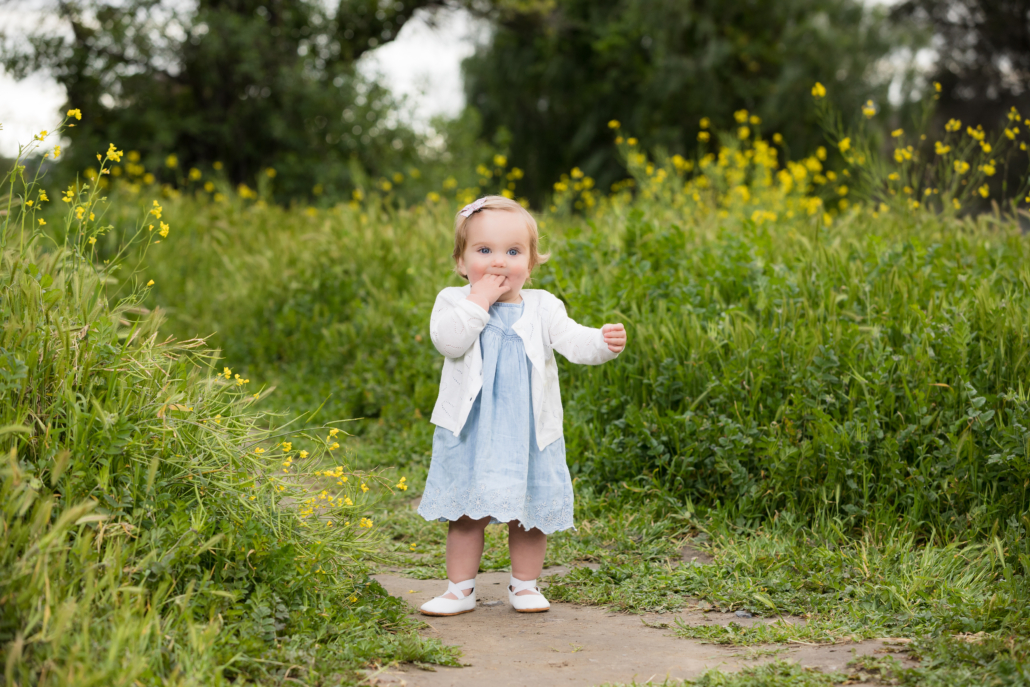
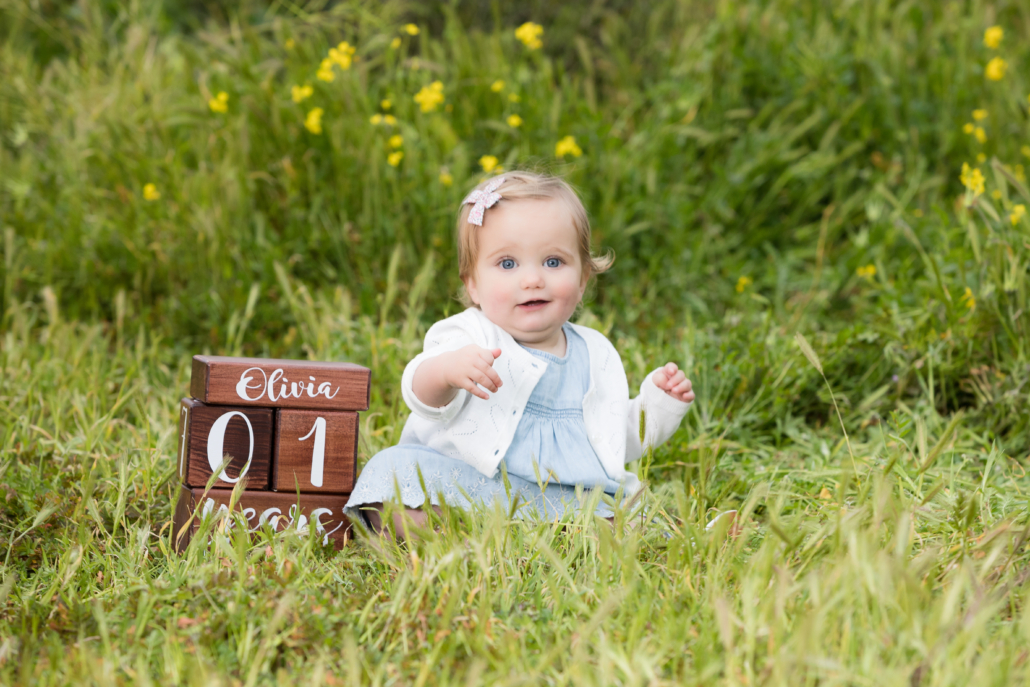
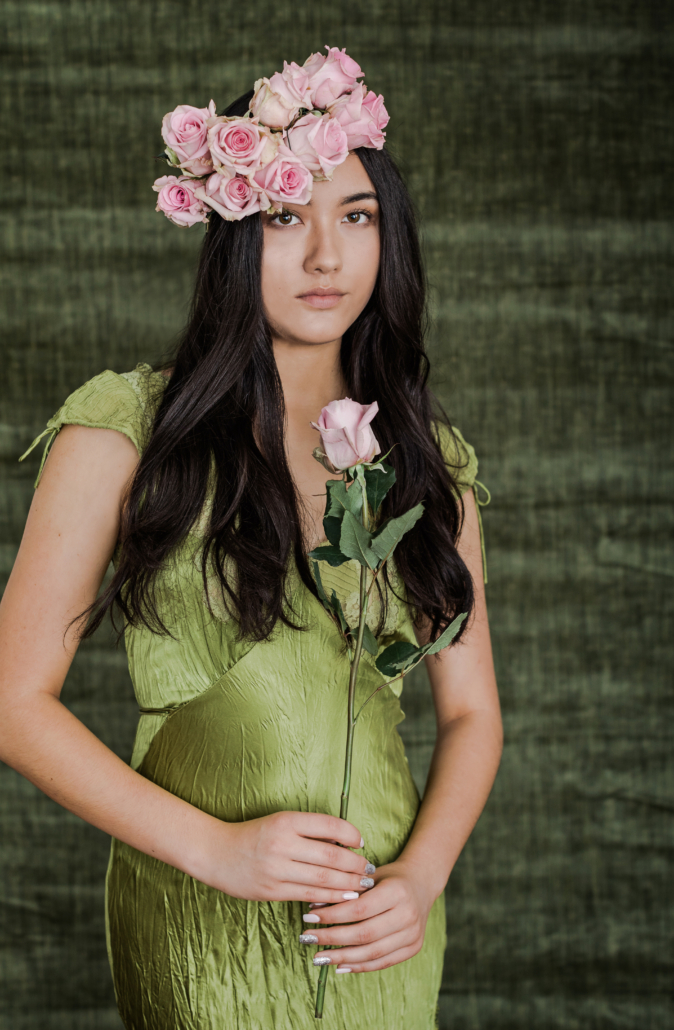
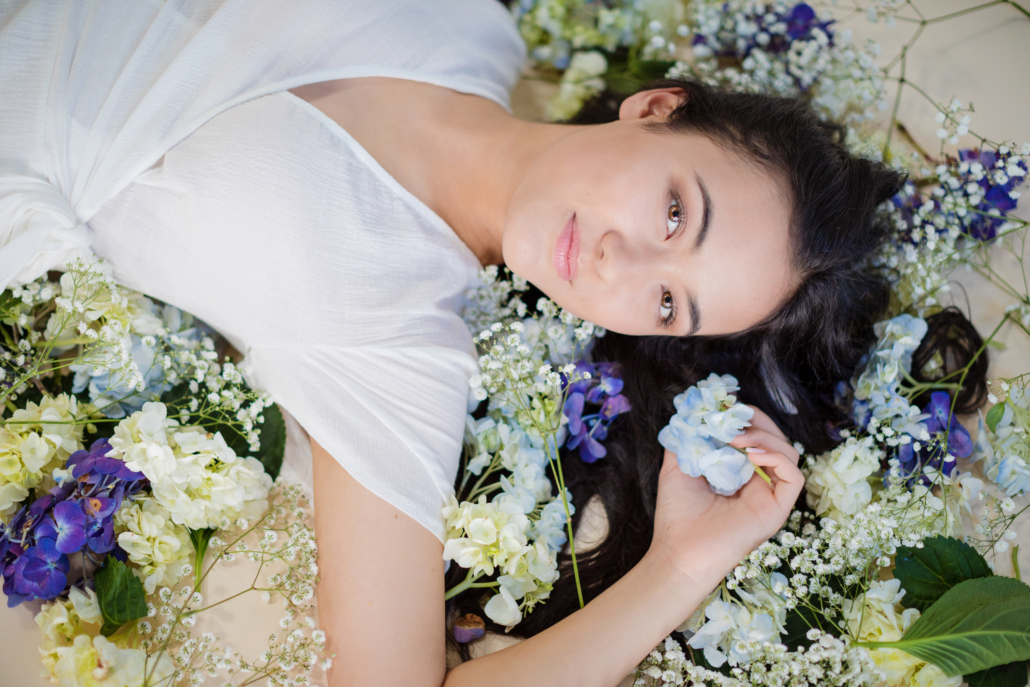
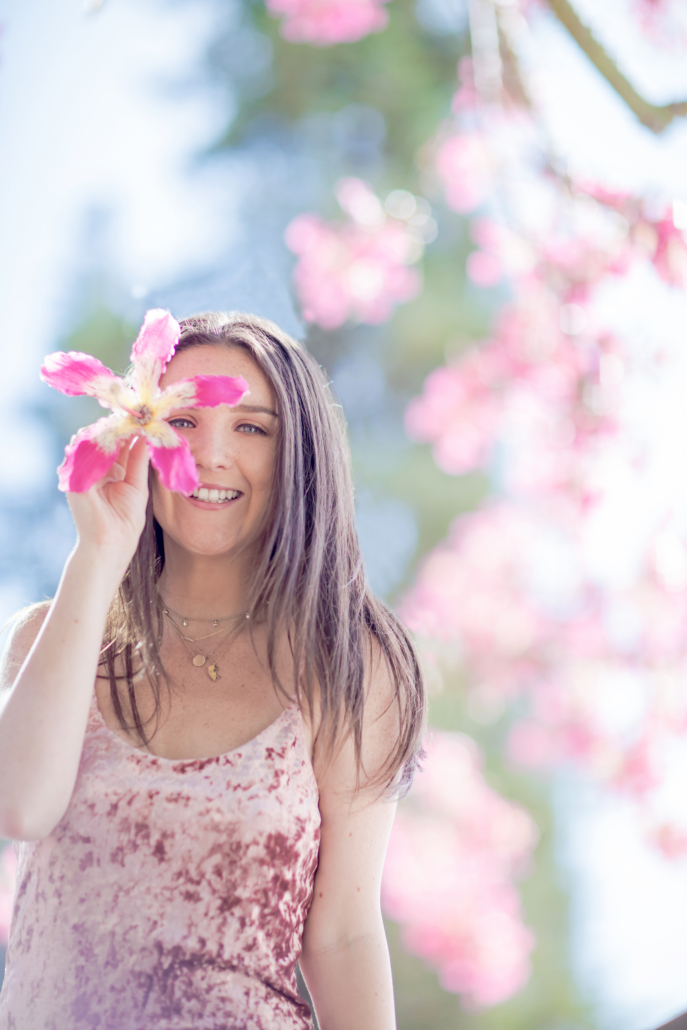
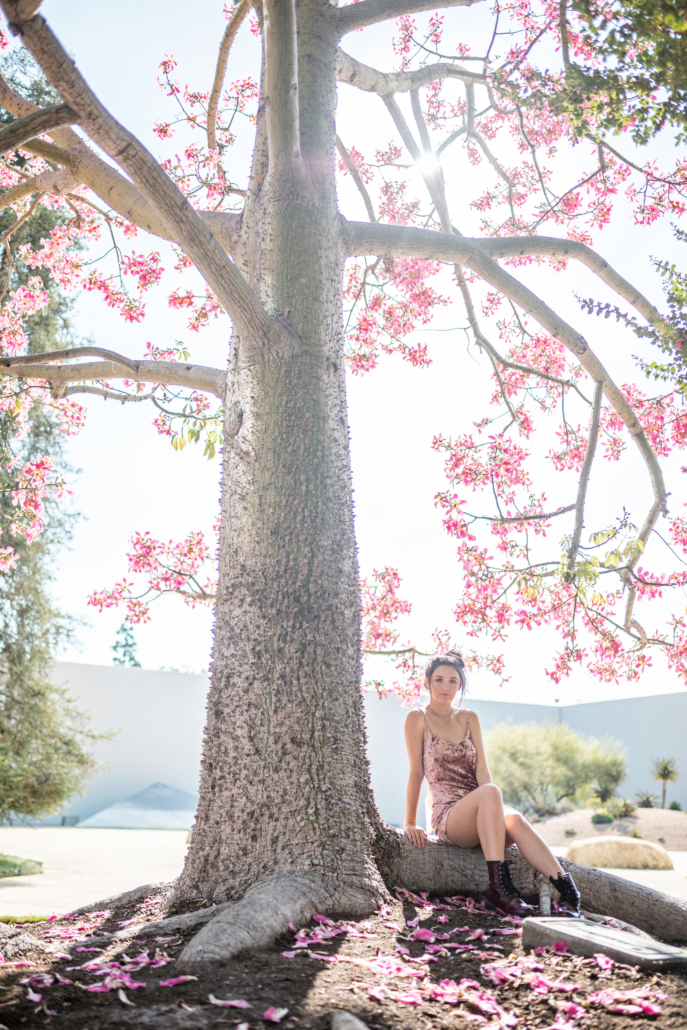
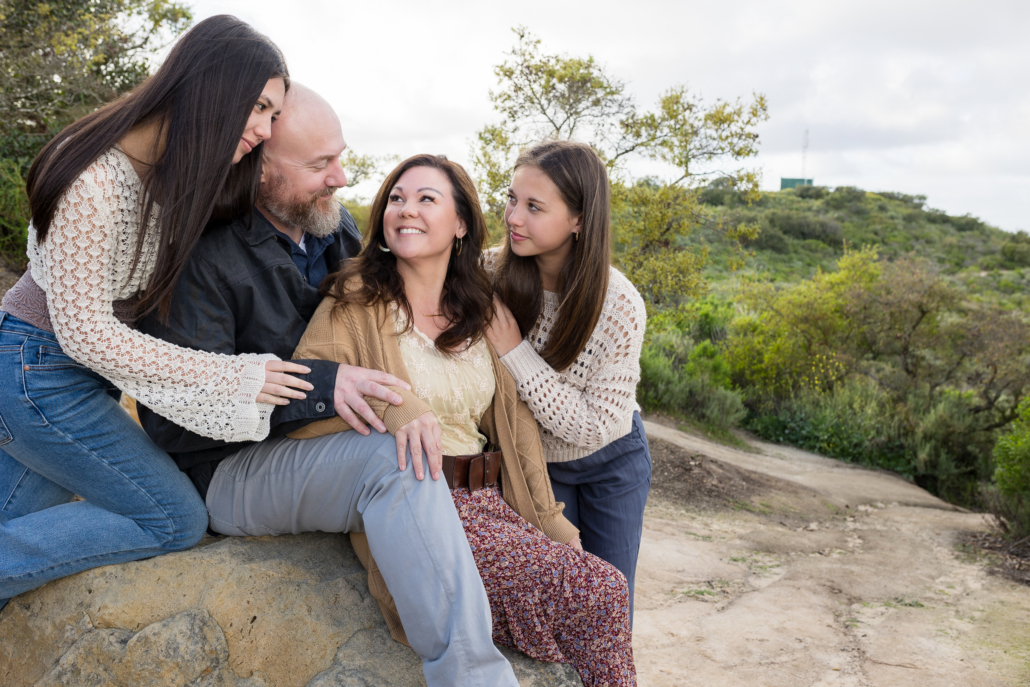
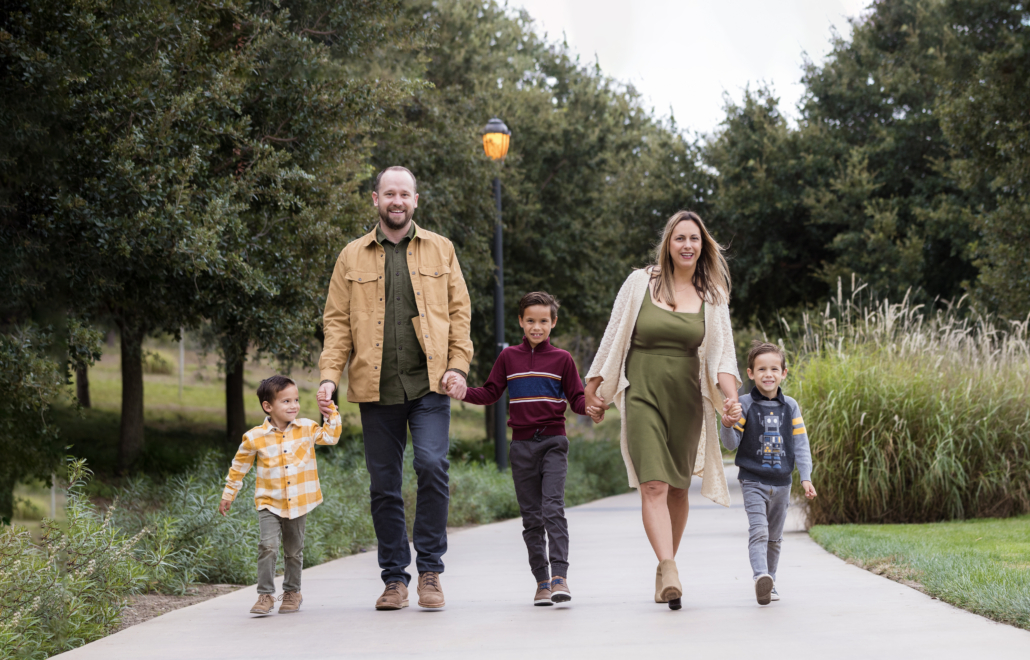
🌳 Lush Park Portraits
Enjoy nature’s beauty with vibrant greens, floral backdrops, and serene paths—perfect for families seeking a classic, romantic feel.
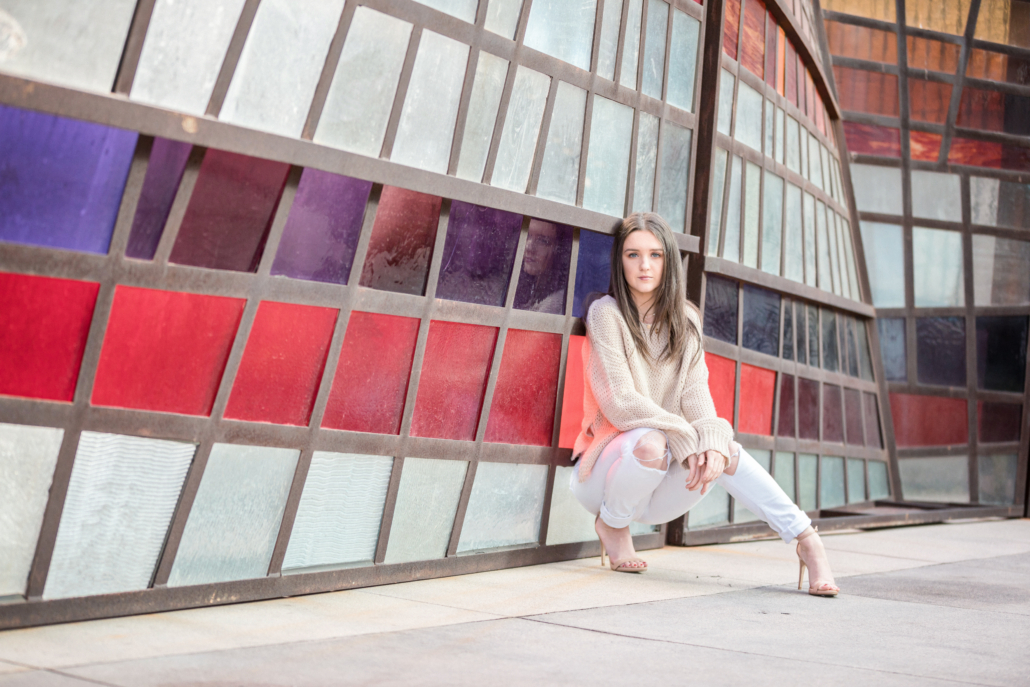
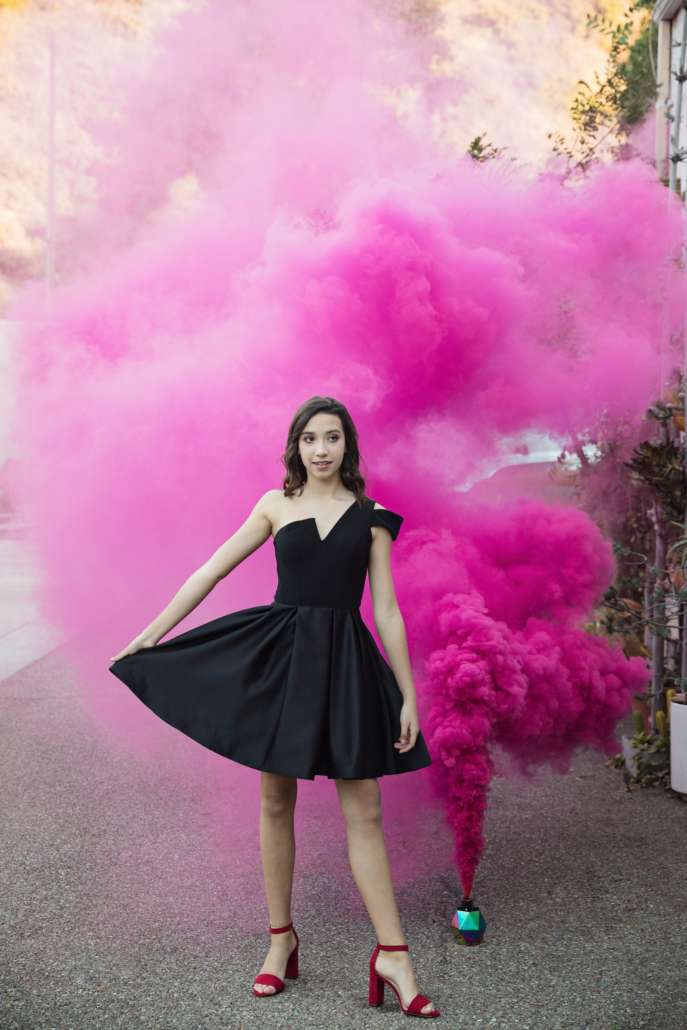
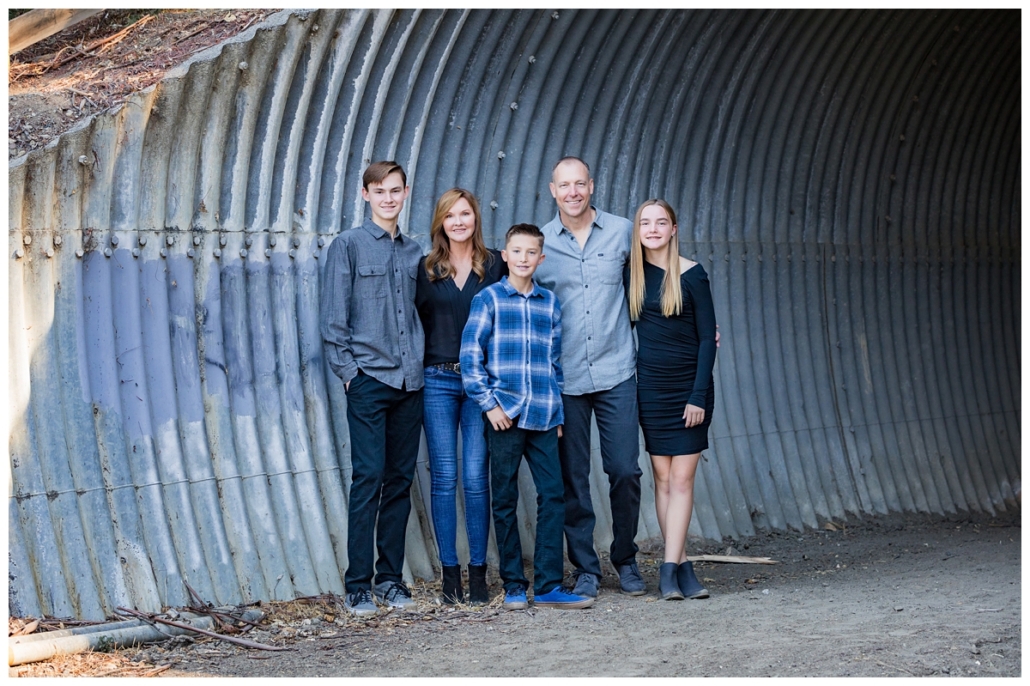
🏙️ Stylish Urban Portraits
Chic, modern, and full of energy—urban locations bring a contemporary edge to your holiday portraits, ideal for families with bold style.
📅 Secure Your Spot – Only 12 Sessions Available
What Our Clients Are Saying
“Our session with Blue Skys Studio was magical. The experience was effortless, and the portraits truly reflect who we are.”
– Emily R., Laguna Beach
“I didn’t think a photo session could feel this relaxed and fun. The results are absolutely stunning.”
– Michael T., Newport Beach
“From start to finish, everything felt personalized and luxurious. We finally have portraits worthy of our home.”
– Sarah L., Irvine
 Frequently Asked Questions
What’s the best time of day for portraits?
We recommend scheduling during golden hour—the hour before sunset—when the light is soft and flattering.
What should we wear?
Don’t worry—we provide tailored wardrobe suggestions to match your location and personal style.
Will you help with posing?
Absolutely. With decades of experience, we’ll gently guide you through posing to create natural, joyful images.
What about lighting?
We use a mix of natural light and off-camera flash to ensure every image looks stunning—no matter the setting.
How do I book?
It’s easy! Click the button below to choose your session date and secure your spot.
🎁 Reserve Your Holiday Portrait Experience Now →
A Gift You’ll Treasure for Years
The best memories aren’t made in a rush. This is your chance to slow down, connect, and preserve your family’s story in artful, authentic imagery. With limited availability, we encourage you to act fast—because these 12 sessions will go quickly.